
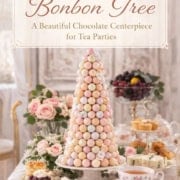
How to Make a Bonbon Tree for Afternoon Tea
This post may contain affiliate links. Please read our disclosure policy.
Few things capture the charm of an elegant tea table quite like a display of sweets. During the Regency era, decorative confections-sometimes called sweetmeats-were often arranged on stands, glass dishes, or ornamental displays for guests to enjoy.
One delightful way to recreate that tradition today is with a bonbon tree, a simple but striking centerpiece made from chocolate truffles arranged on a cone.
The result feels festive and a little whimsical-perfect for afternoon tea, holiday gatherings, or any table inspired by the elegance of the Regency era.
This version uses Lindt truffles in soft pastel shades, but you can easily adapt it with your favorite flavors or colors.
Jump to:
What Is a Bonbon Tree?
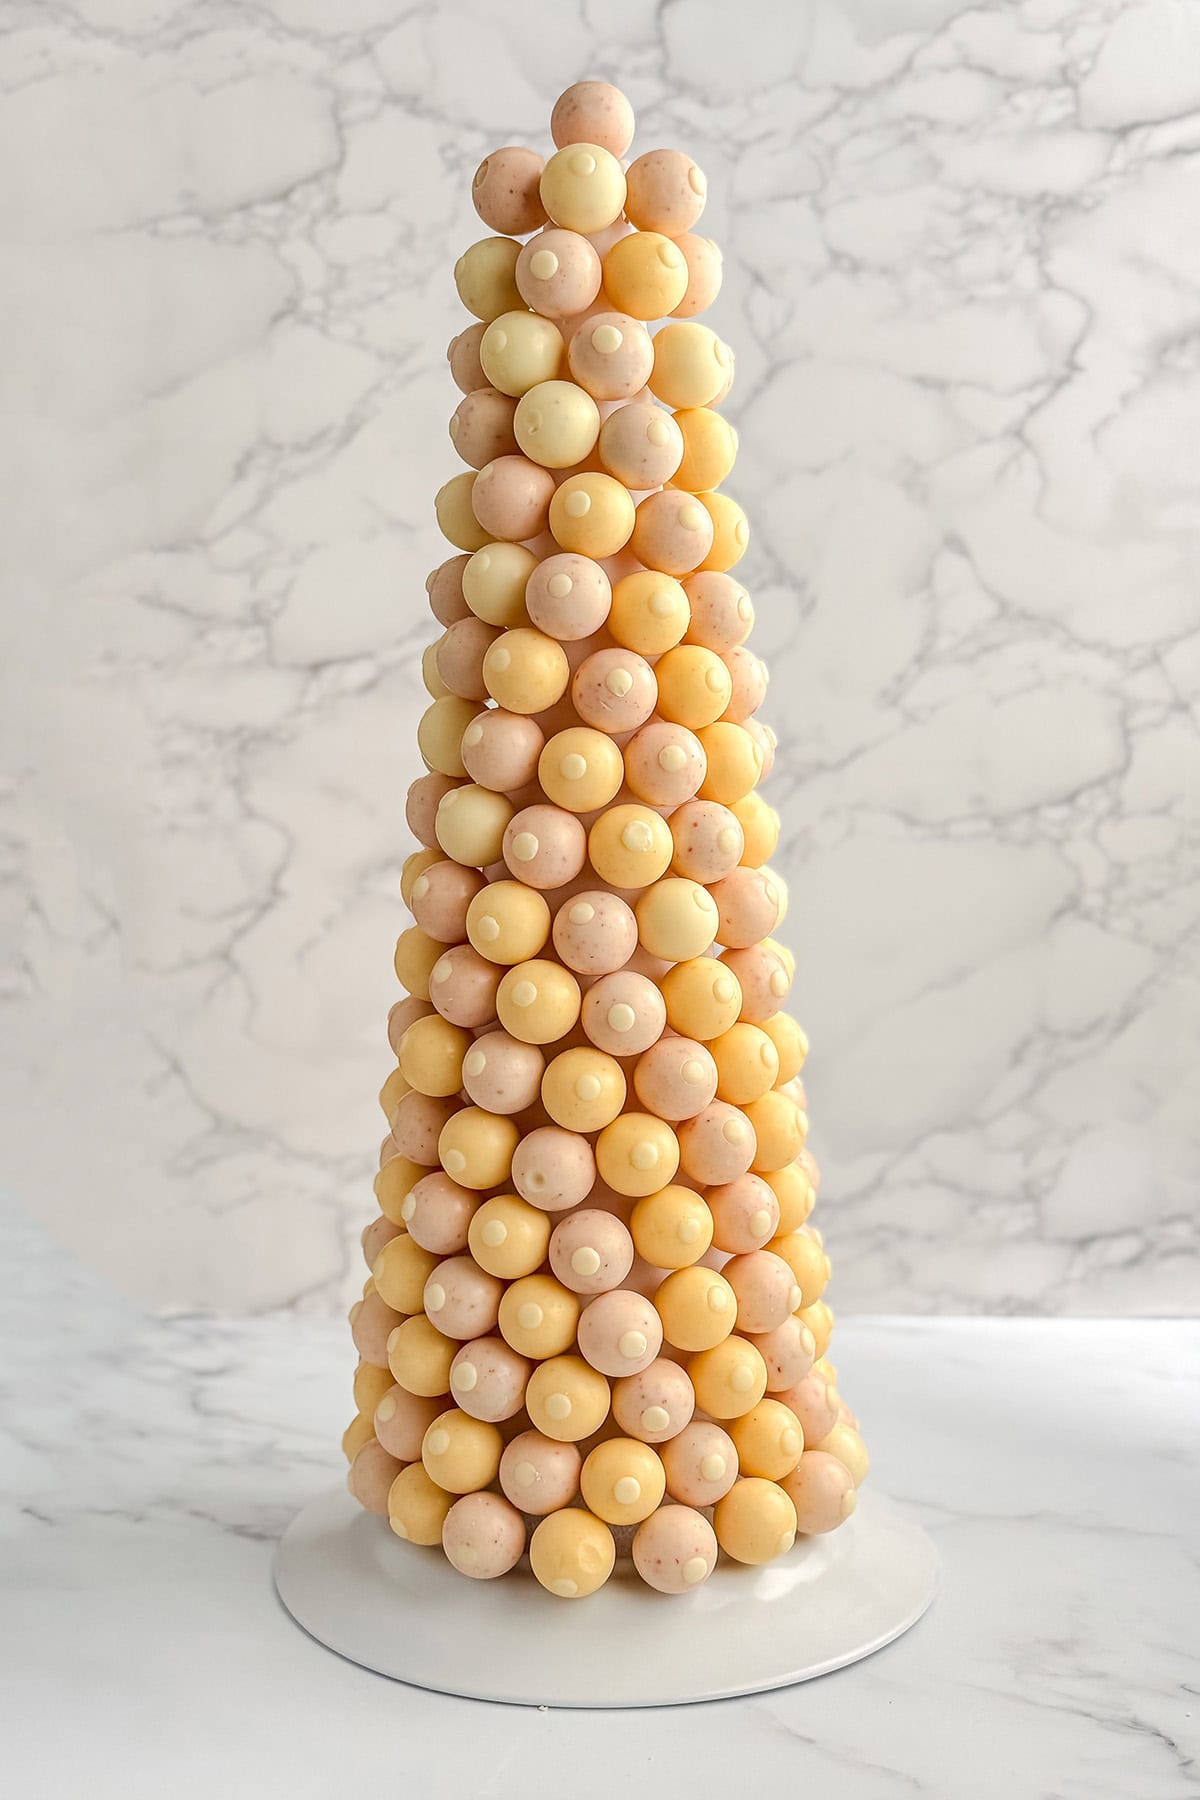
A bonbon tree is a decorative display made by attaching wrapped chocolate truffles to a cone-shaped base. The chocolates form a cascading pyramid of sweets that guests can easily pick from the table.
It works beautifully as:
- an afternoon tea centerpiece
- a dessert table decoration
- a holiday sweet display
- a conversation piece for parties
Because the candies are individually wrapped, they remain fresh and easy for guests to enjoy.
What You Need
This project requires only a few simple supplies.
Supplies
- Styrofoam cone (I used an 18-inch cone)
- Parchment paper
- Toothpicks
- Wrapped chocolate truffles (Lindt works beautifully)
Chocolate Options
I used:
- Lindt Neapolitan truffles
- Lindt Carrot Cake truffles
Any white chocolate truffle or pastel-colored candy works equally well.
You can also choose colors that match your table or holiday theme.
Step-by-Step: How to Make a Bonbon Tree
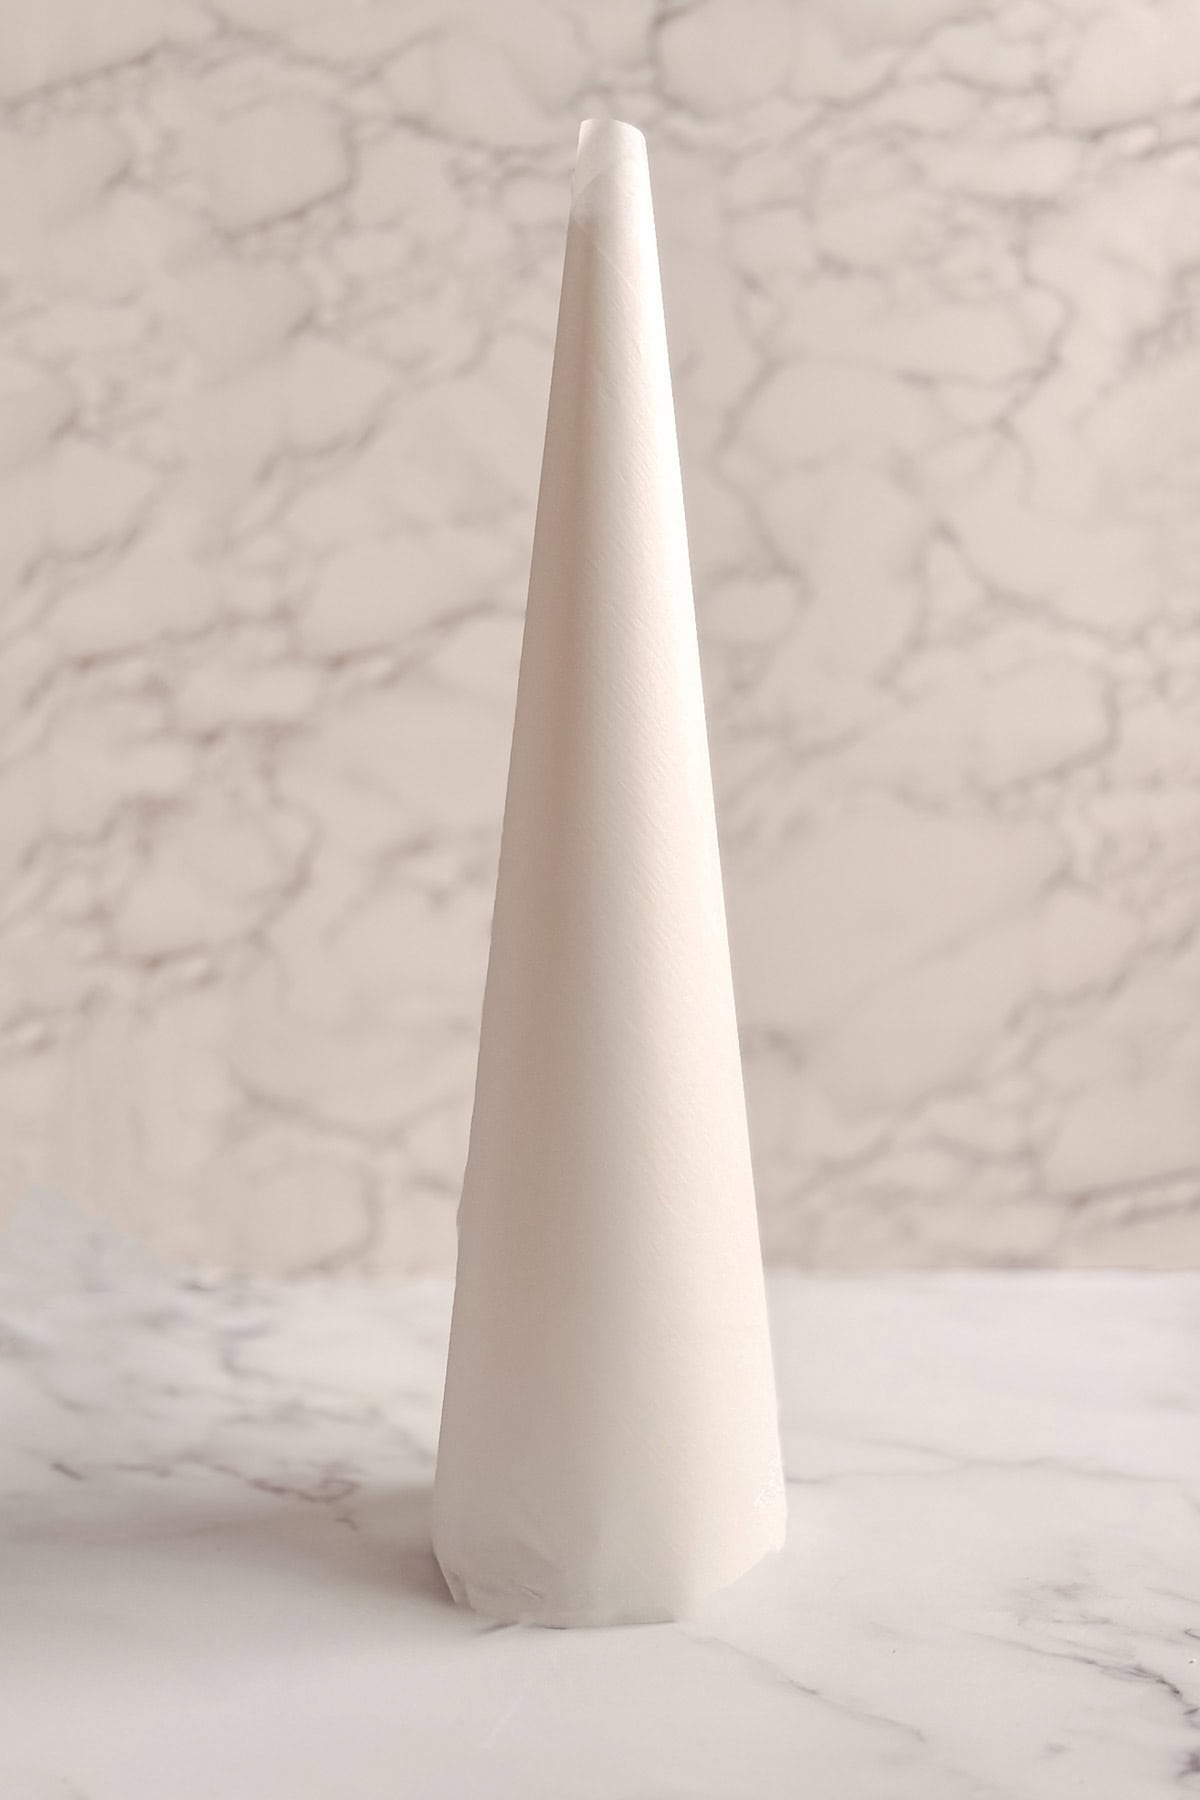
- Step 1: Wrap the Cone
Begin by wrapping the styrofoam cone with parchment paper. This keeps the candy clean and prevents the wrappers from touching the foam. Secure the parchment at the back with a small piece of tape or toothpicks.
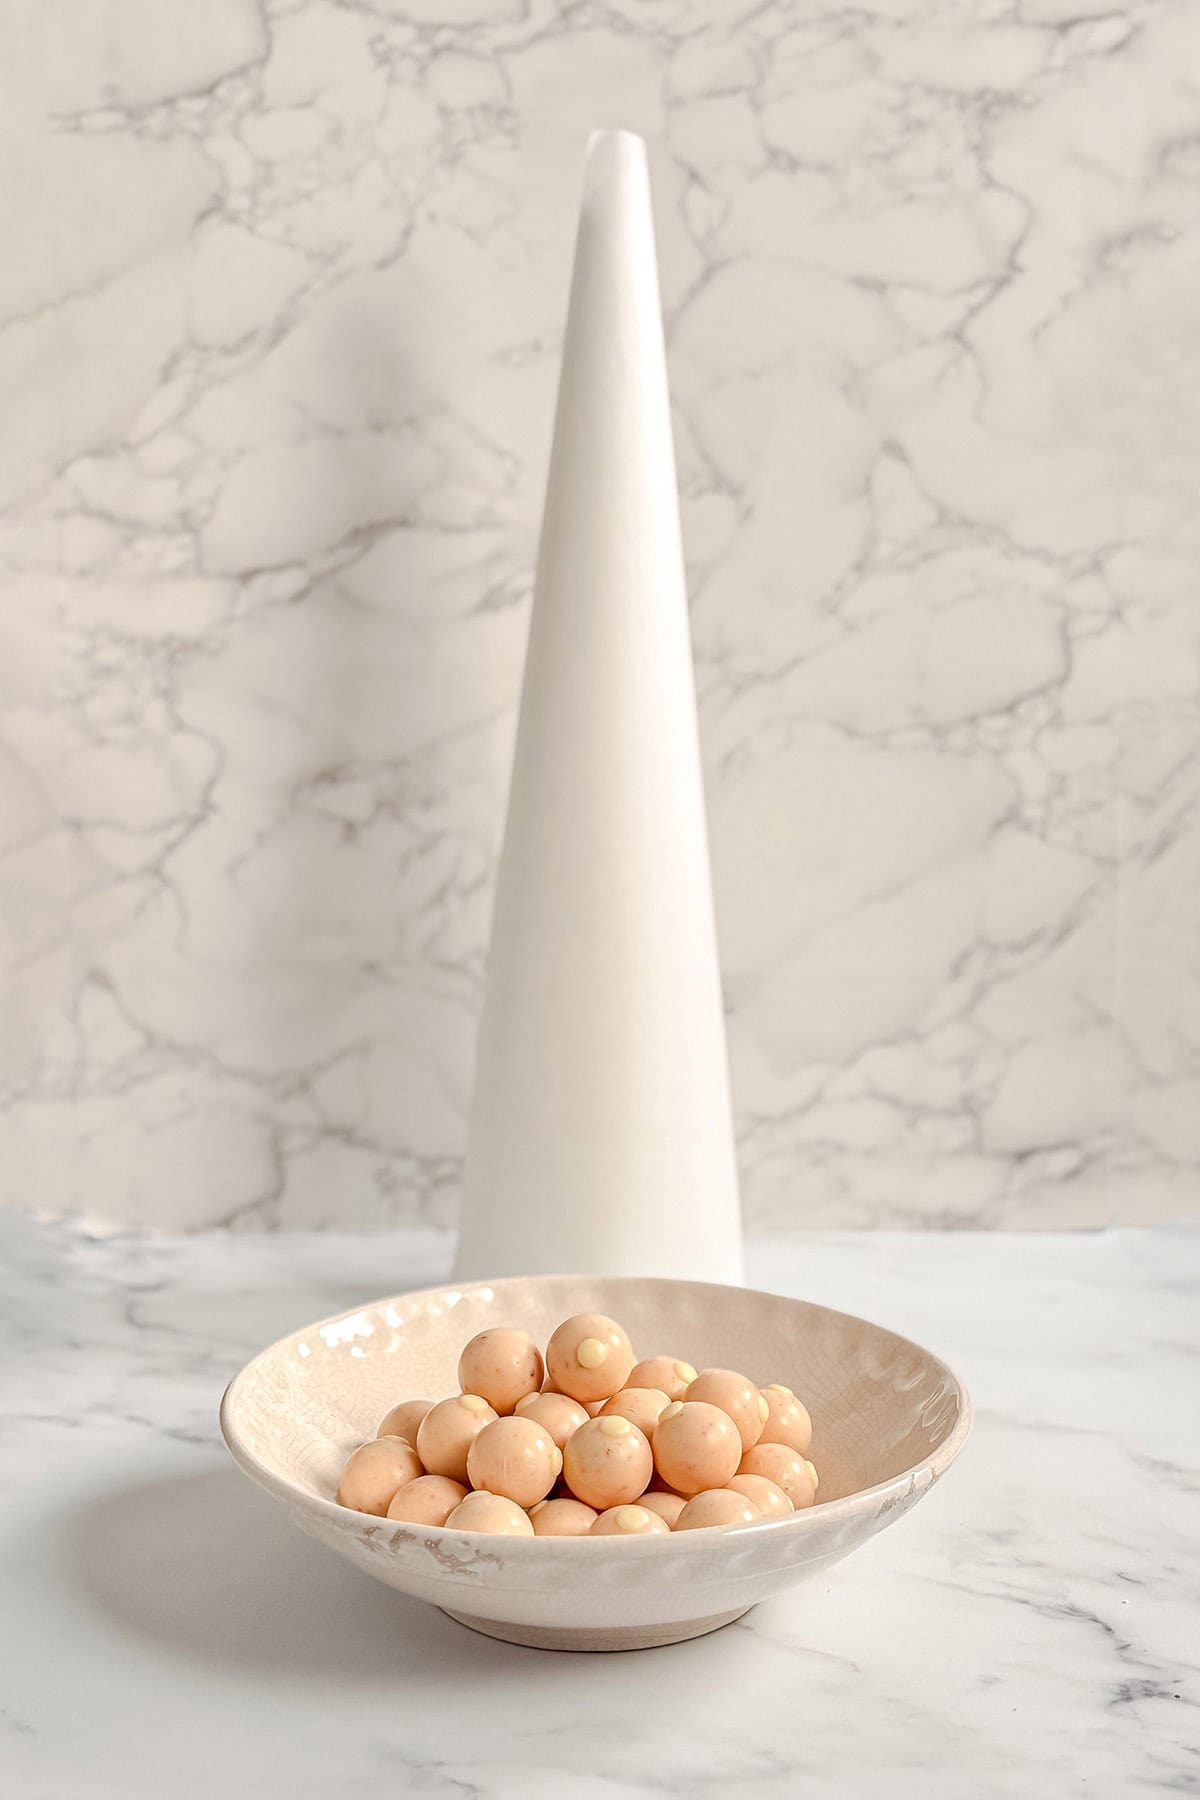
- Step 2: Unwrap the Candy
Unwrapping the candies before you begin makes assembly quicker and easier, especially when working in rows.
- Step 3: Insert Toothpicks
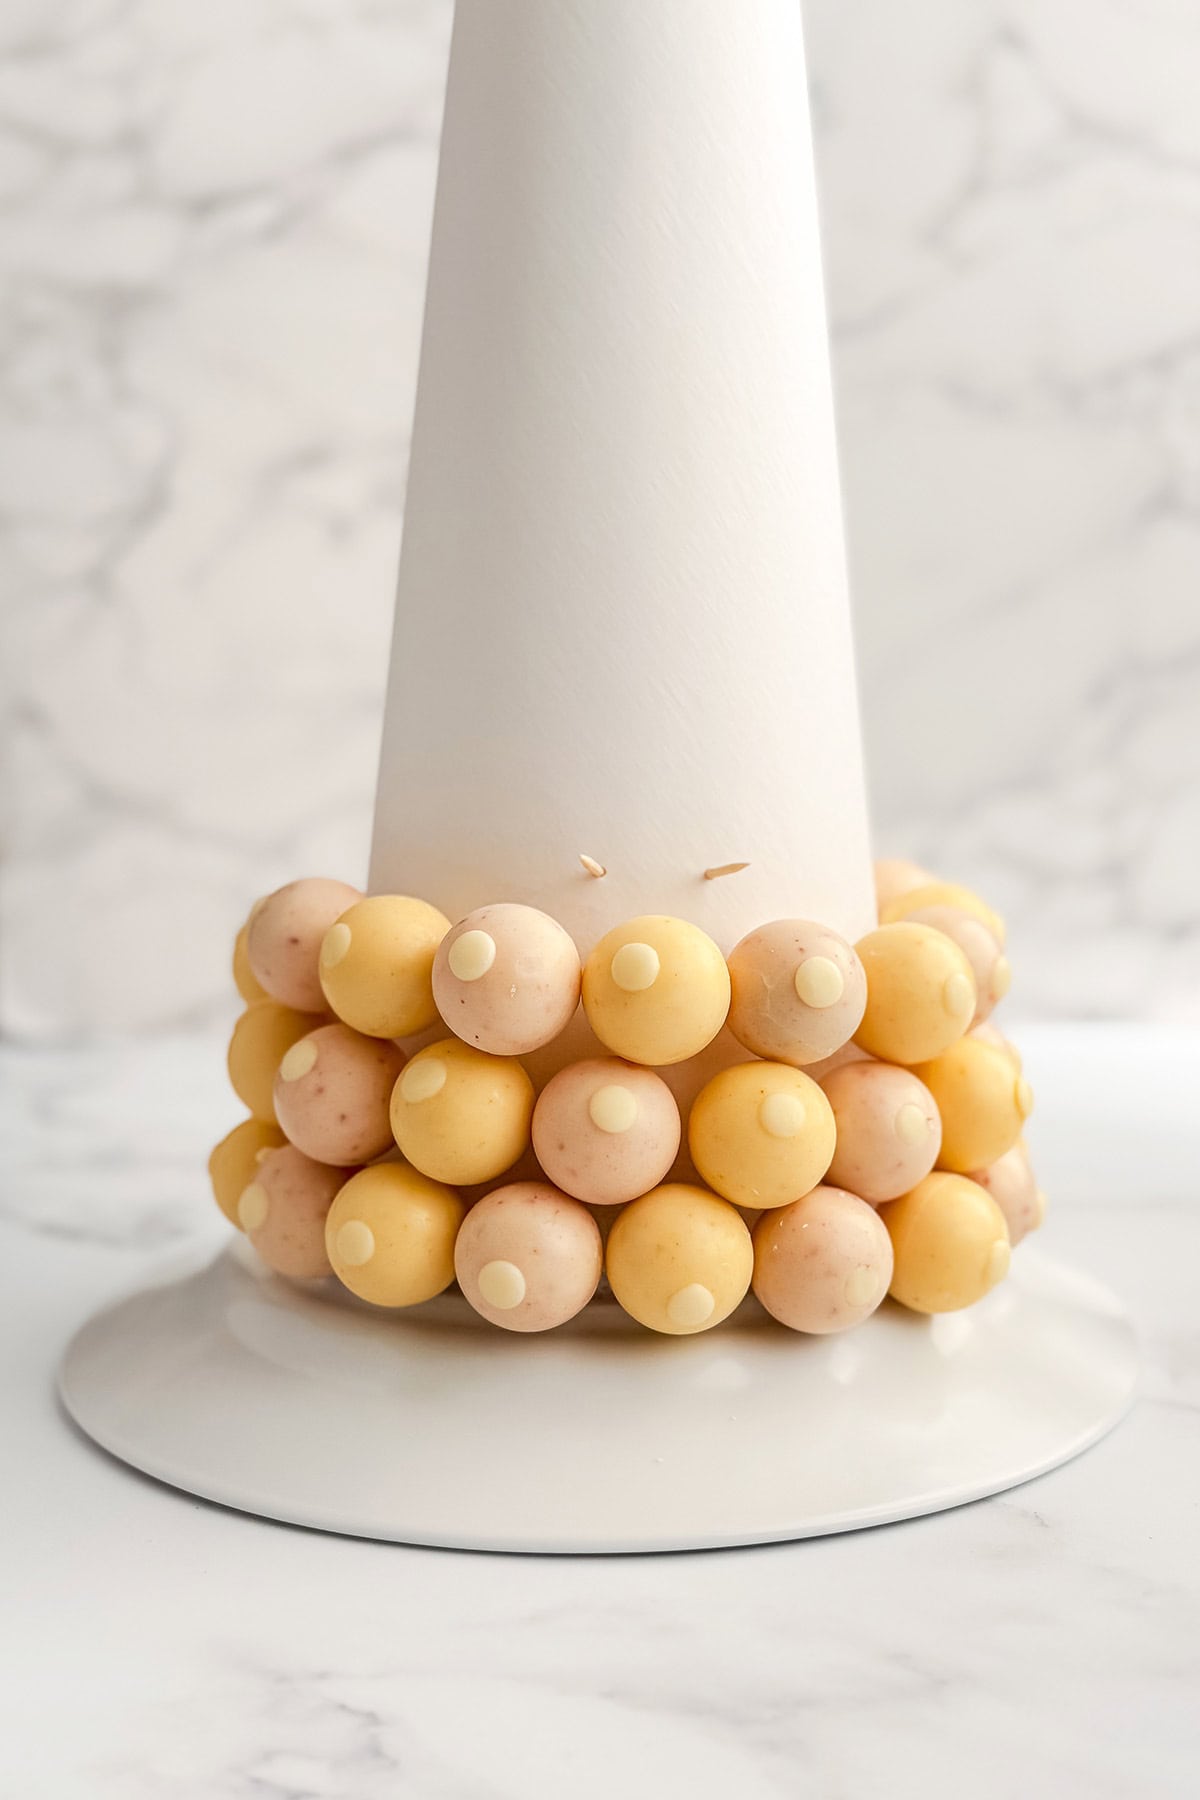
Starting near the base of the cone, insert toothpicks into the styrofoam at a slight upward angle. Spacing them about 1½-2 inches apart works well. Work in rows around the cone. Gently press each truffle onto the end of a toothpick.
- Step 4: Fill the Cone
Continue adding candies, working upwards in staggered rows until the entire cone is filled. As the rows build, the chocolates will begin to overlap slightly, creating the full "tree" effect. You can mix colors randomly or arrange them in a pattern if you prefer.
Finishing the Top: If desired, you can also add a ribbon, a small decorative bow, or an edible flower at the top.
Tips for the Best Bonbon Tree
A few small tricks make this project easier.
- Choose a smaller cone if possible: While I used an 18-inch cone, a 12-14-inch cone is often easier to fill and requires fewer candies.
- Use toothpicks at an upward angle: This keeps the chocolates secure and helps them sit neatly.
- Mix flavors or colors: A combination of candy colors makes the tree look fuller and more festive.
How to Display a Bonbon Tree
Place the finished bonbon tree on:
- a cake stand
- a silver tray
- the center of a tea table
It pairs beautifully with:
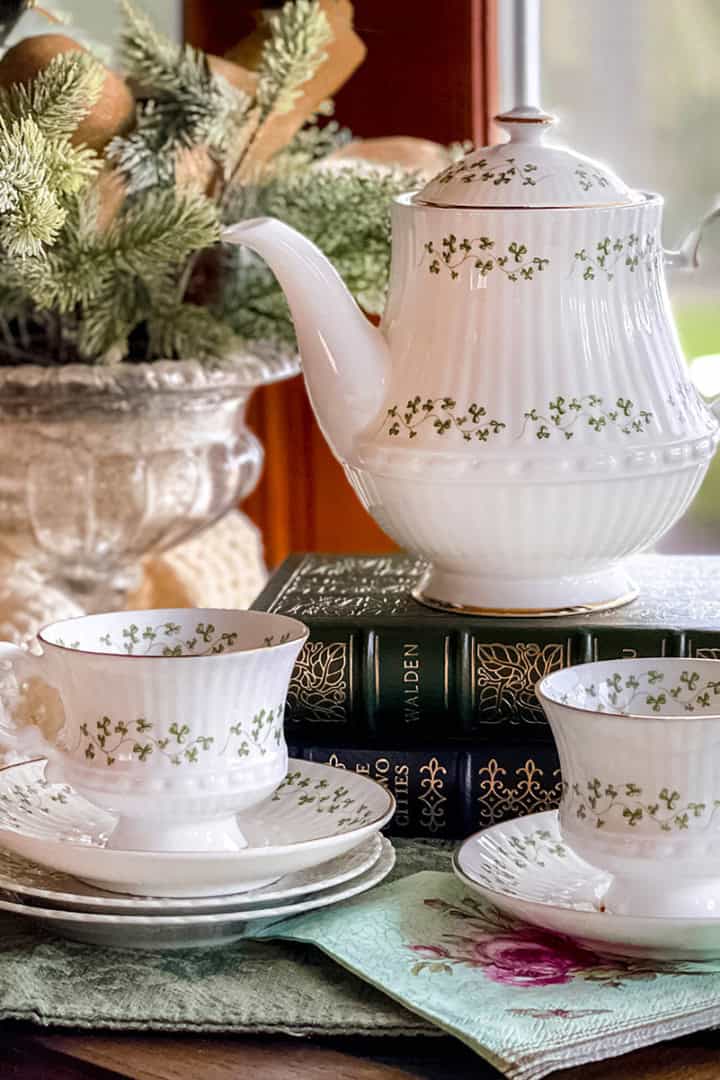
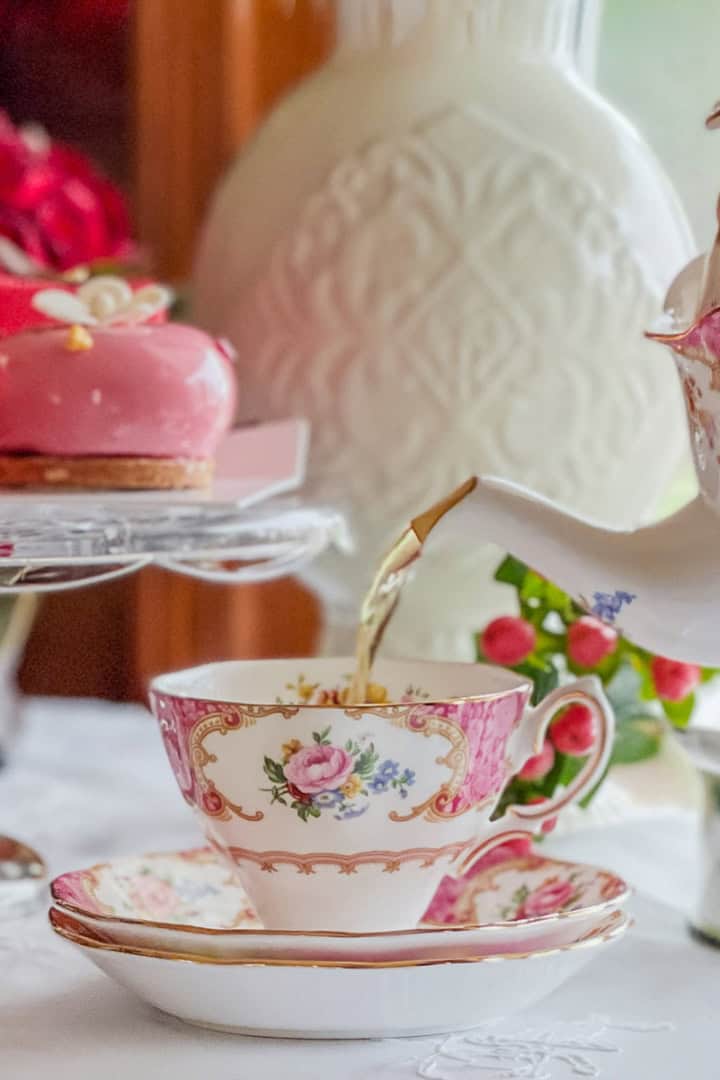
- teacups and floral china
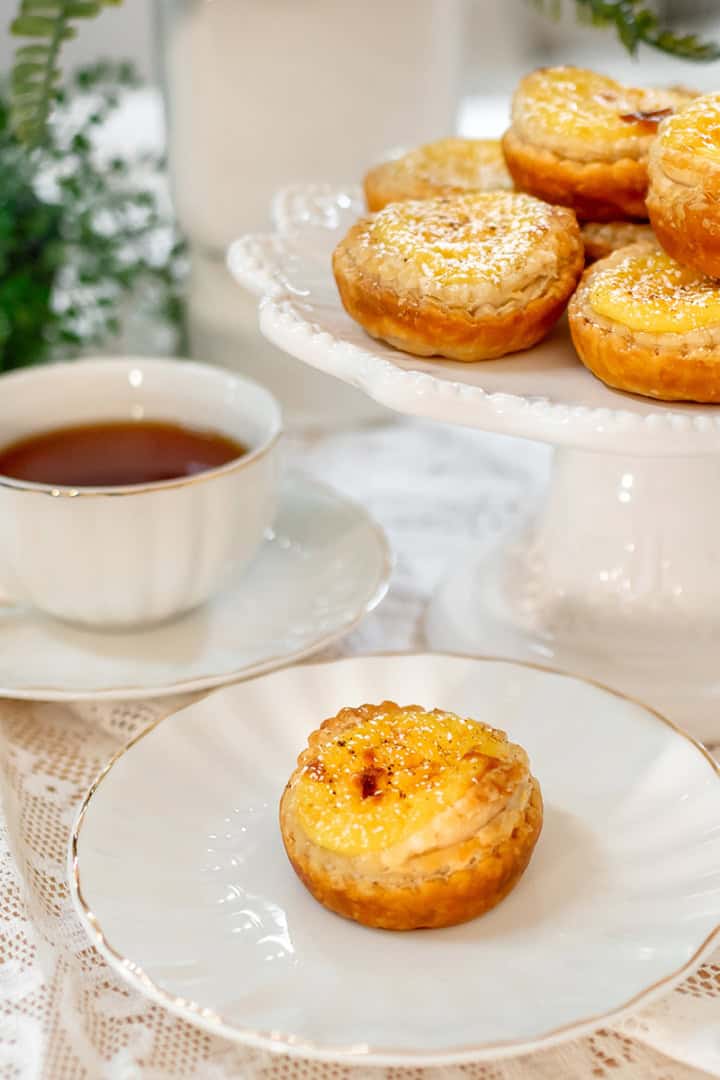
- small pastries
- cake stands
Guests can simply pull off a chocolate as they please.
A Sweet Centerpiece for Afternoon Tea
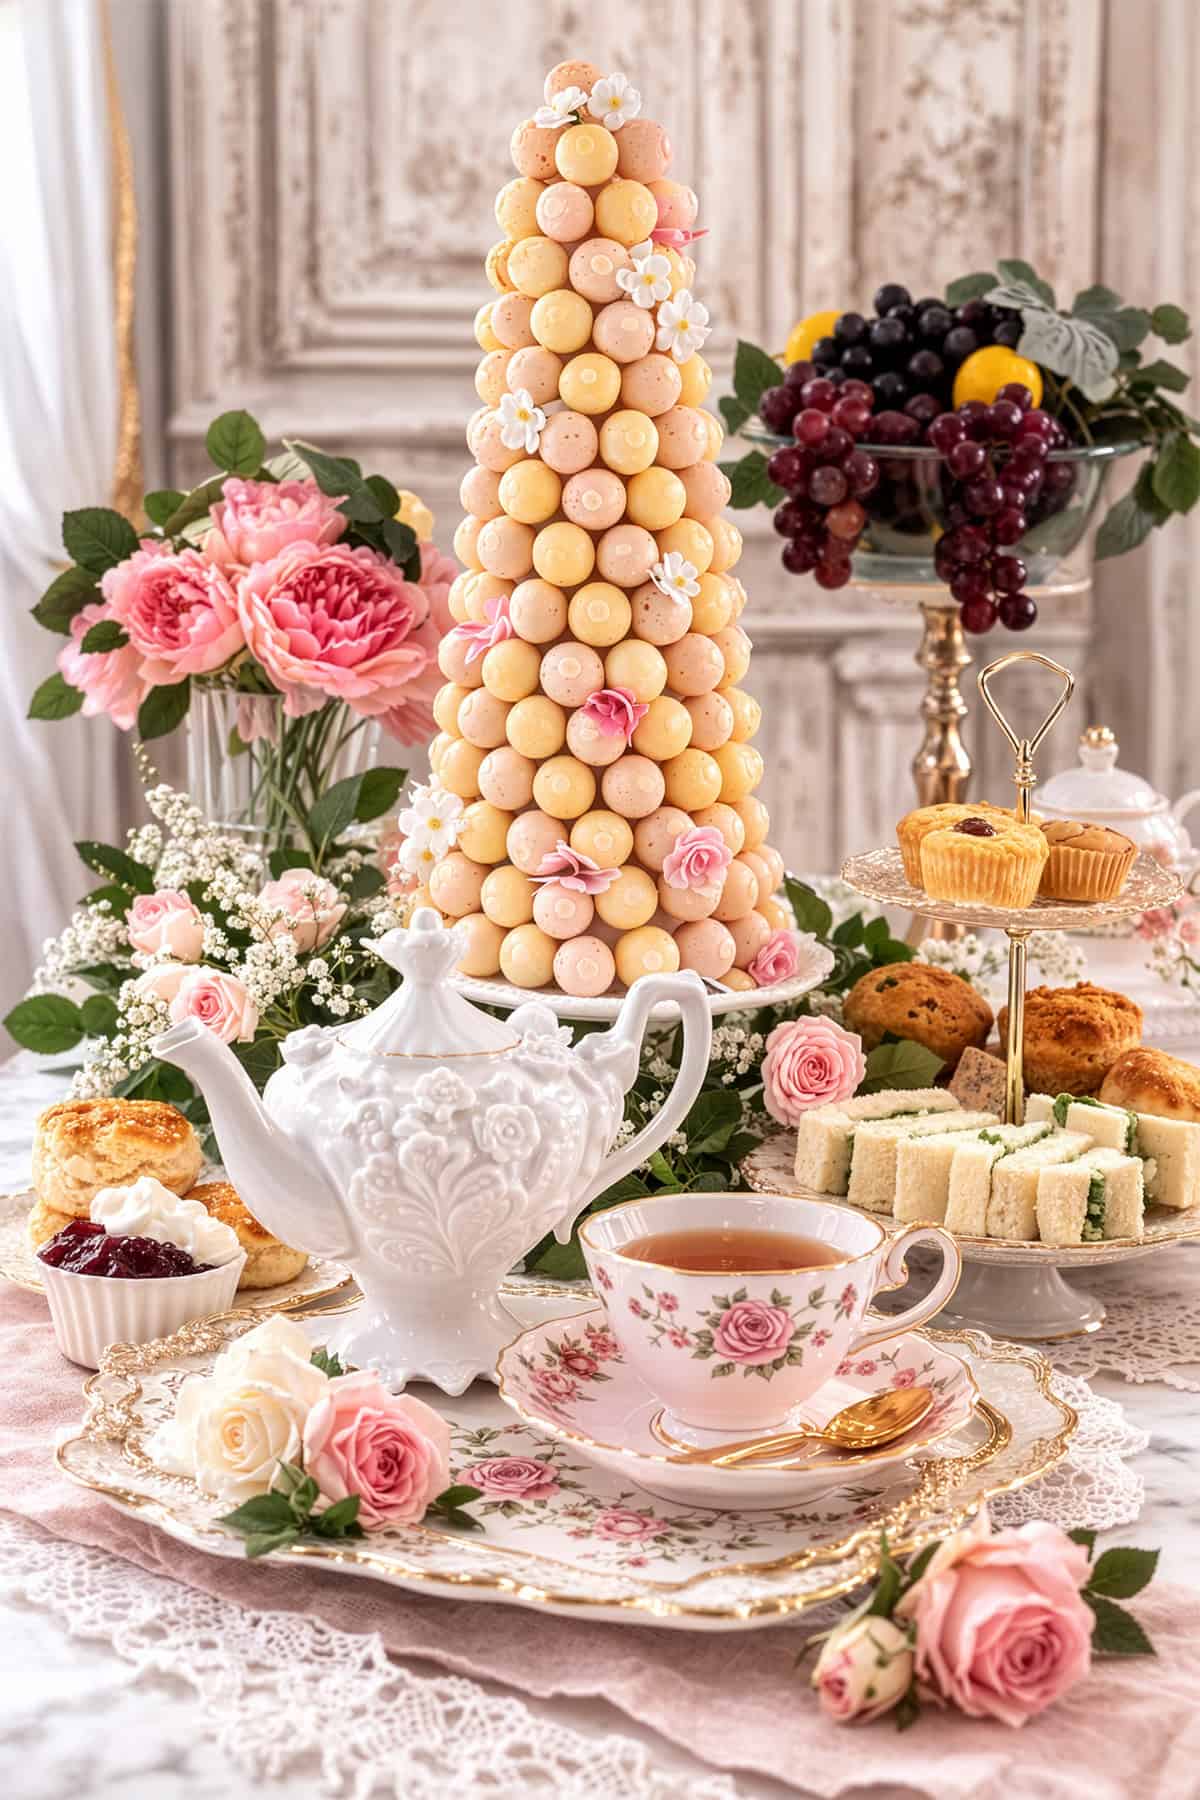
While bonbon trees feel wonderfully festive during the holidays, they're also charming additions to a Regency-inspired tea table.
Displayed alongside cakes, tea sandwiches, and teacups, the tree becomes both decoration and dessert-a small indulgence that guests can enjoy throughout the afternoon.
Variations
You can easily customize a bonbon tree for different occasions.
- Holiday tree: red and gold truffles
- Spring tea: pastel candies or chocolate eggs
- Christmas: Ferrero Rocher and ribbon
- Children's party: colorful wrapped chocolates
Want to save this recipe?
Enter your email, and we'll send it to your inbox. Plus, you'll get delicious new recipes from us every Friday!

How to Make a Bonbon Tree
Materials
- Styrofoam cone 12-18 inch
- Parchment paper
- Toothpicks
- Wrapped chocolate truffles such as Lindt
Instructions
- Wrap the cone: Wrap the styrofoam cone with parchment paper to keep the candies clean.
- Insert toothpicks: Starting near the base, insert toothpicks at a slight upward angle.
- Attach truffles: Press each wrapped truffle onto a toothpick. Work upward in staggered rows until the cone is covered.
- Finish the top: Place a final truffle at the top of the cone.
Notes
- Cone size: I used an 18-inch styrofoam cone for this display, which creates a dramatic centerpiece. However, a 12-14 inch cone is often easier to fill and requires fewer candies.
- How many truffles you'll need: The exact number will vary depending on spacing, but an 18-inch cone may require approximately 75-100 wrapped truffles.
- Chocolate options: I used Lindt truffles in Neapolitan and Carrot Cake flavors, but any wrapped truffles or white chocolate candies work beautifully. Pastel colors are especially lovely for spring tea tables.
- Toothpick placement: Insert the toothpicks at a slight upward angle. This helps the truffles sit securely and creates the layered "tree" effect as the rows build upward.
- Work from the bottom up: Start at the base of the cone and work in staggered rows as you move upward. Allow the candies to slightly overlap to create a fuller look.
- Serving tip: Place the finished bonbon tree on a cake stand or tray in the center of the table, where guests can easily pull off a chocolate during tea.
More Afternoon Tea Party Ideas
- Irish Custard Tarts
- Easy Irish Afternoon Tea
- Lemon Madeleines Recipe
- February Afternoon Tea: A Valentine's Day Celebration
If you try this recipe, I'd love to hear your comments and consider giving it a 5-star rating. Explore the recipe index for more easy, delicious ideas, and stay updated by subscribing to our newsletter and following us on Facebook, Pinterest, Instagram, and YouTube!
Comments
No Comments