
Easy No-Churn Chocolate Ice Cream
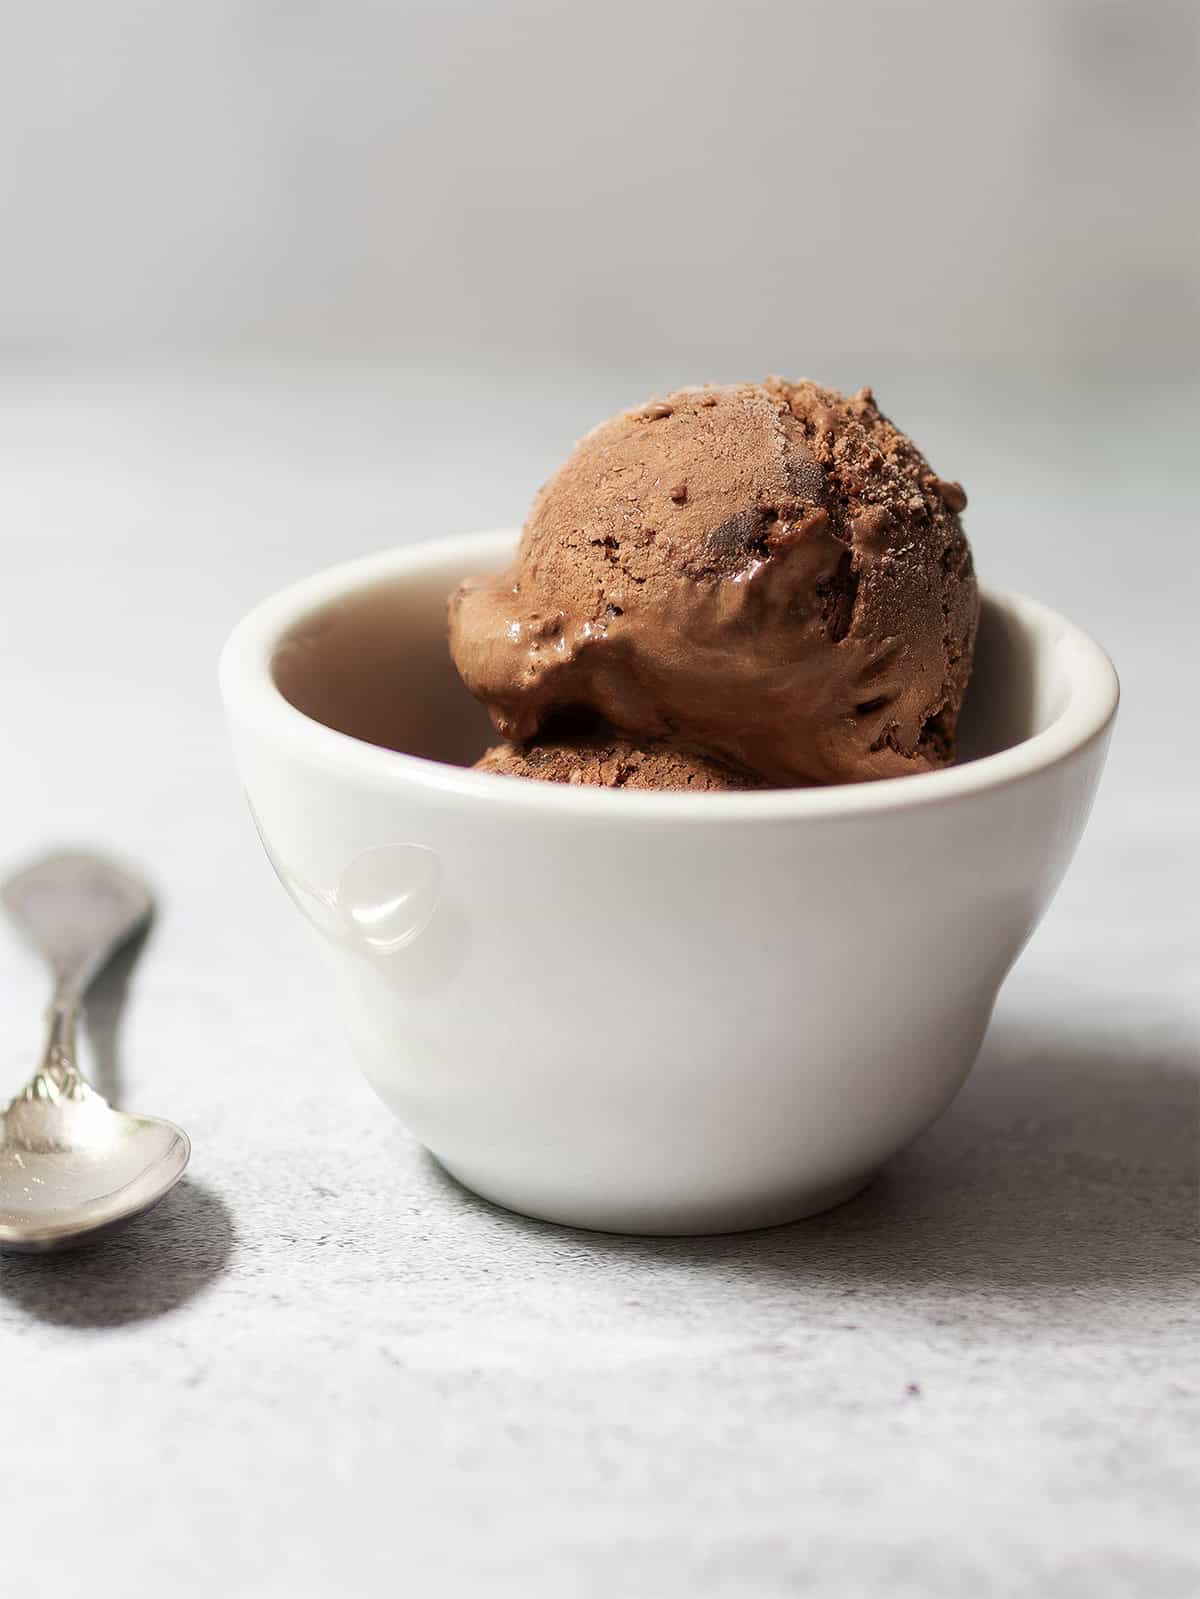
This easy No-Churn Chocolate Ice Cream is rich, creamy, and deeply chocolatey-all without an ice cream maker. Made with cocoa powder, sweetened condensed milk, and whipped cream, it takes only minutes to mix before freezing.
This post may contain affiliate links. Please read our disclosure policy.
Want to save this recipe?
Enter your email, and we'll send it to your inbox. Plus, you'll get delicious new recipes from us every Friday!
The simple chocolate ice cream is delicious on its own, but it is also easy to customize with your favorite additions. For the version pictured here, I folded in pieces of my Fudgy Cakey Family-Size Brownies for an irresistible chocolate brownie variation.
If you love the simplicity of homemade ice cream without special equipment, my Summer Berry No-Churn Ice Cream is another easy seasonal favorite.
Why You'll Love This No-Churn Chocolate Ice Cream
No-churn ice cream is one of the easiest frozen desserts you can make at home. Whipped cream gives it a light, creamy texture, while sweetened condensed milk provides sweetness and helps the ice cream remain smooth once frozen.
This chocolate version is:
- Made without an ice cream maker
- Rich and creamy
- Easy to prepare with a handful of ingredients
- Delicious with or without additions
- Simple to customize with brownies, cookies, nuts, or chocolate
No-churn recipes are especially helpful when you want homemade ice cream without planning ahead to freeze an ice cream maker bowl. For another rich variation made with the same easy method, try my No-Churn Peanut Butter Chocolate Ice Cream.
Jump to:
- Why You'll Love This No-Churn Chocolate Ice Cream
- Ingredients
- Optional Chocolate Ice Cream Add-Ins
- How to Make No-Churn Chocolate Ice Cream
- Tips for Creamy No-Churn Ice Cream
- Easy Chocolate Ice Cream Variations
- Serving No-Churn Chocolate Ice Cream
- How to Store Homemade Ice Cream
- No-Churn Chocolate Ice Cream FAQs
- No Churn Chocolate Ice Cream
- More Homemade Ice Cream Recipes
- No Bake Desserts
- Comments
Ingredients
Here is what you need to make this easy homemade ice cream. Ingredient measurements are in the recipe card at the bottom of the post.
- Sweetened condensed milk: This creates the sweet, creamy foundation of the ice cream. Be sure to use sweetened condensed milk rather than evaporated milk.
- Unsweetened cocoa powder: Gives the ice cream its rich chocolate flavor. Natural or Dutch-process cocoa powder will work.
- Pure vanilla extract: Enhances the chocolate and gives the ice cream a fuller, more rounded flavor.
- Instant espresso powder: This is optional, but a small amount intensifies the chocolate without making the ice cream taste noticeably like coffee.
- Fine sea salt: A pinch of salt balances the sweetness and brings out the chocolate flavor.
- Heavy whipping cream: Keep the cream very cold so that it whips easily and holds firm peaks.
Optional Chocolate Ice Cream Add-Ins
This chocolate ice cream is wonderful on its own, but you can fold in approximately 1 to 1½ cups of your favorite additions.
The add-in I used in these photos was chilled, crumbled pieces of my Fudgy Cakey Family-Size Brownies. Their rich chocolate flavor and soft, fudgy texture make an especially delicious addition.
Other ideas include:
- Chopped or crumbled brownies
- Crushed chocolate sandwich cookies
- Mini chocolate chips
- Chopped dark or milk chocolate
- Chocolate-covered almonds
- Toasted almonds, walnuts, pecans, or pistachios
- Praline or toffee pieces
- Mini marshmallows
You could also take inspiration from classic ice cream flavors by folding in chopped chocolate and a little peppermint extract for a variation reminiscent of my Homemade Mint Chocolate Chip Ice Cream.
Keep the additions chilled and avoid adding too many so the finished ice cream remains creamy and easy to scoop.
How to Make No-Churn Chocolate Ice Cream
Begin by placing a 9-by-5-inch metal loaf pan in the freezer to chill.
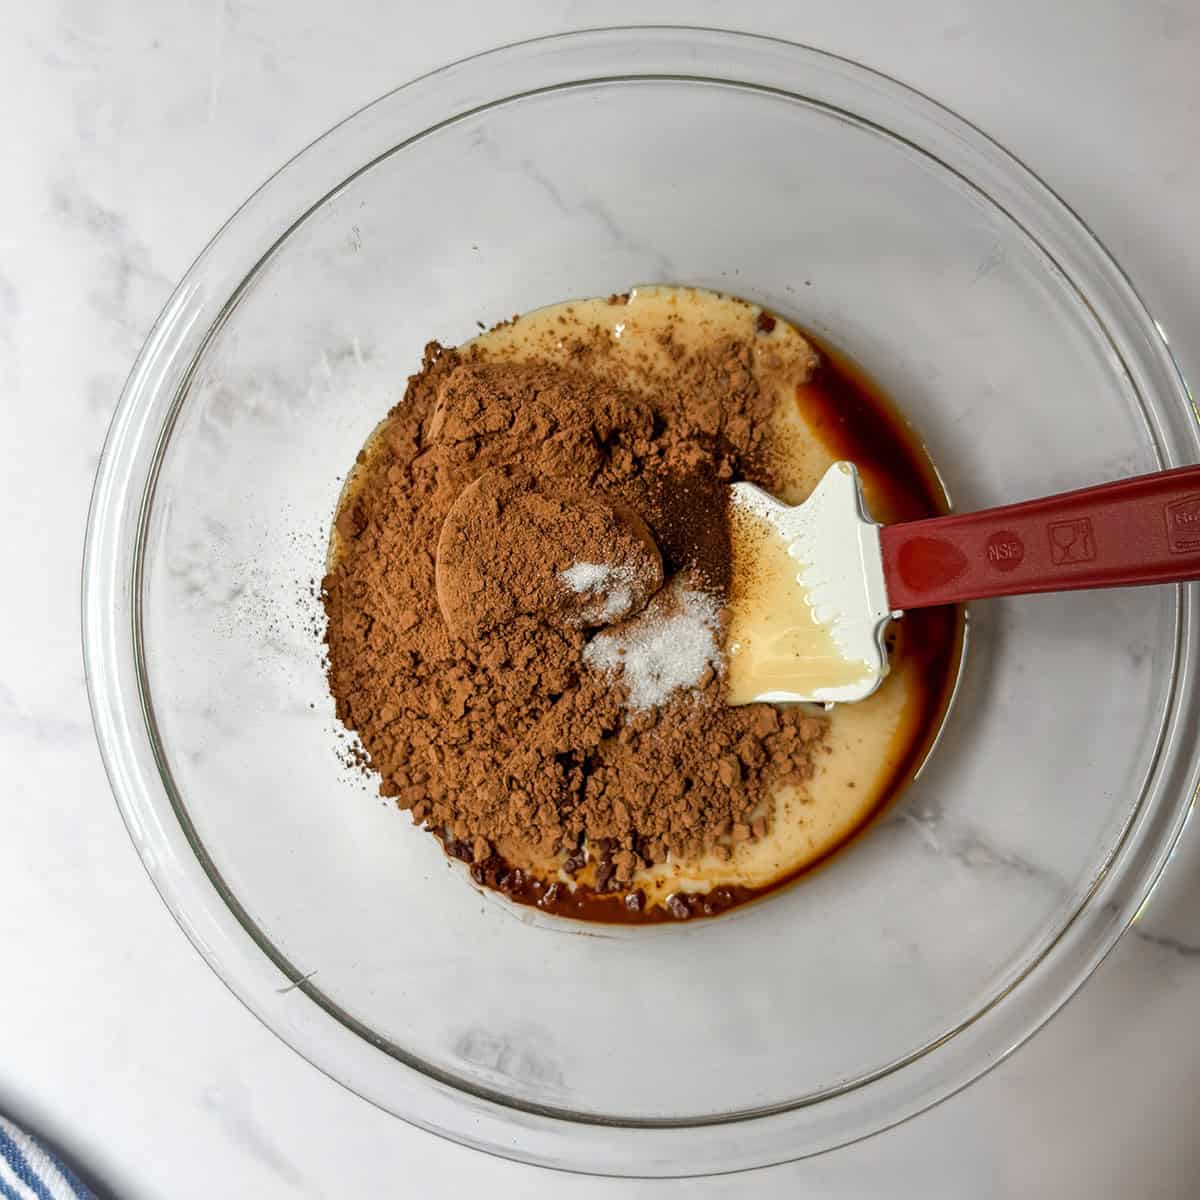
- Step 1: Make the Chocolate Base.
Whisk together the sweetened condensed milk, cocoa powder, vanilla extract, instant espresso powder, if using, and salt in a large bowl.
The mixture will become quite thick. Set it aside while you prepare the whipped cream.
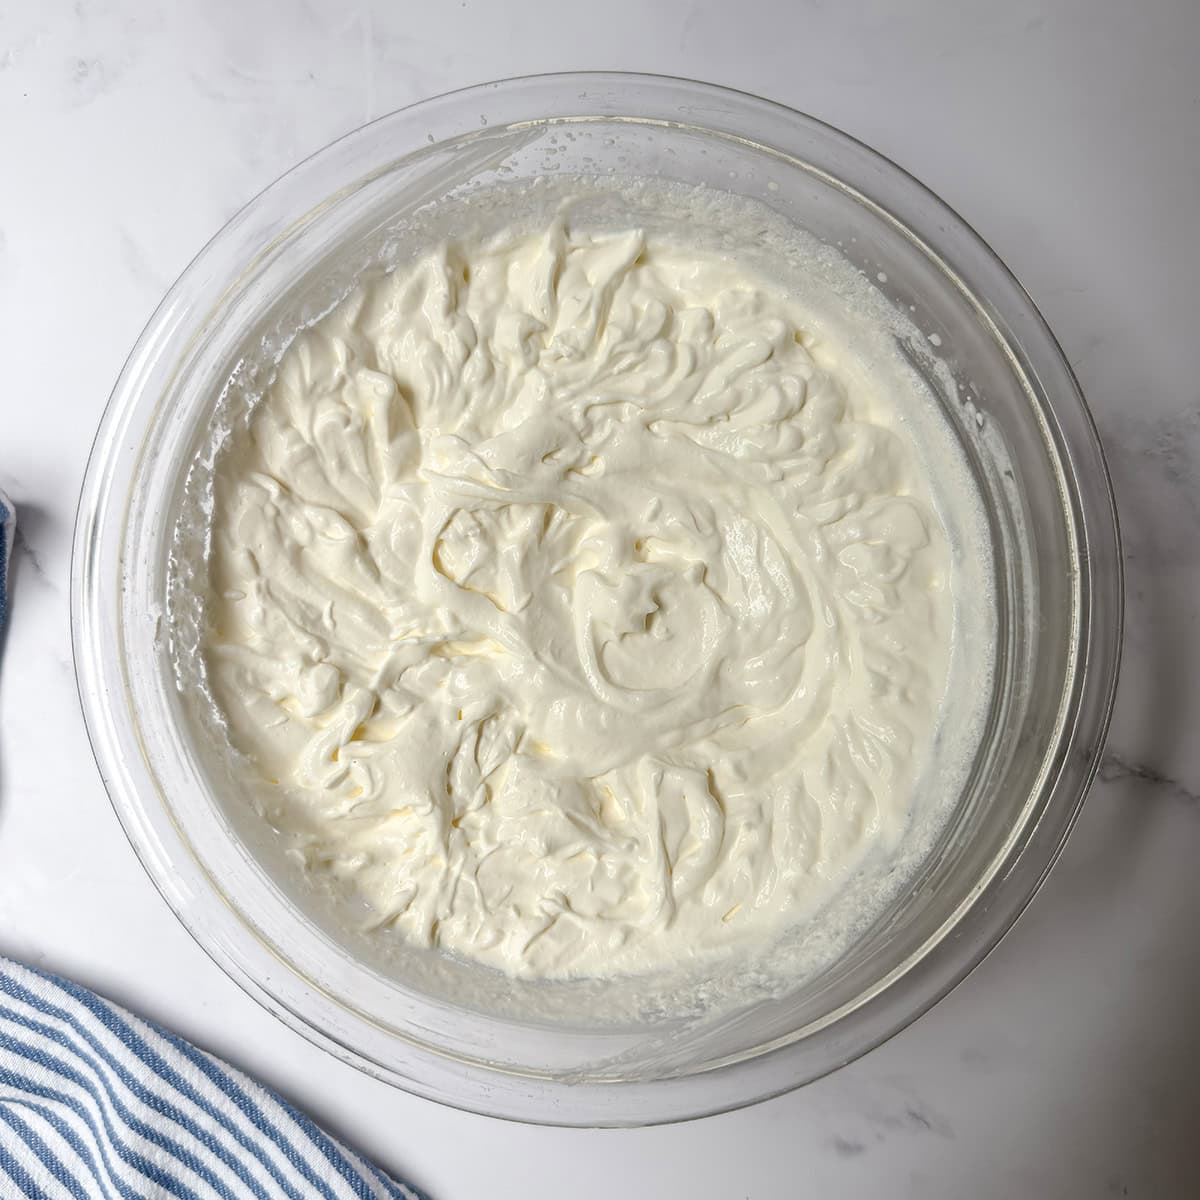
- Step 2: Whip the Cream.
Using an electric mixer, beat the cold heavy cream on medium-high speed until firm peaks form, about 2 minutes.
The cream should hold its shape when the beaters are lifted, but take care not to overmix it.
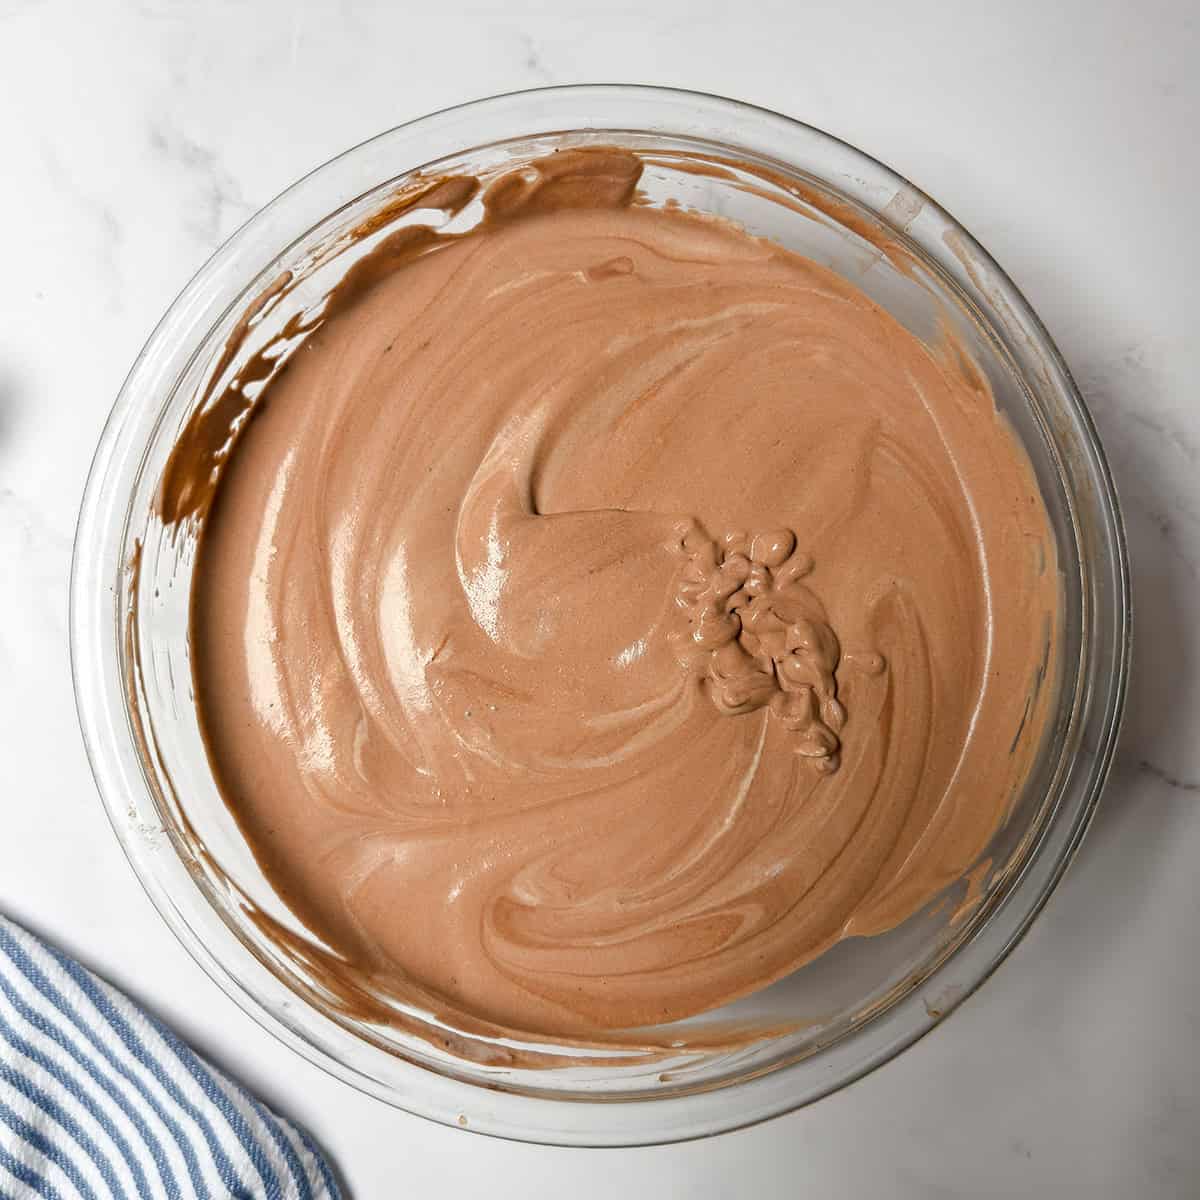
- Step 3: Combine the Mixtures.
Fold approximately 1 cup of the whipped cream into the chocolate mixture. This lightens the thick condensed milk base and makes it easier to combine with the remaining cream.
Gently fold the lightened chocolate mixture into the remaining whipped cream until evenly blended.
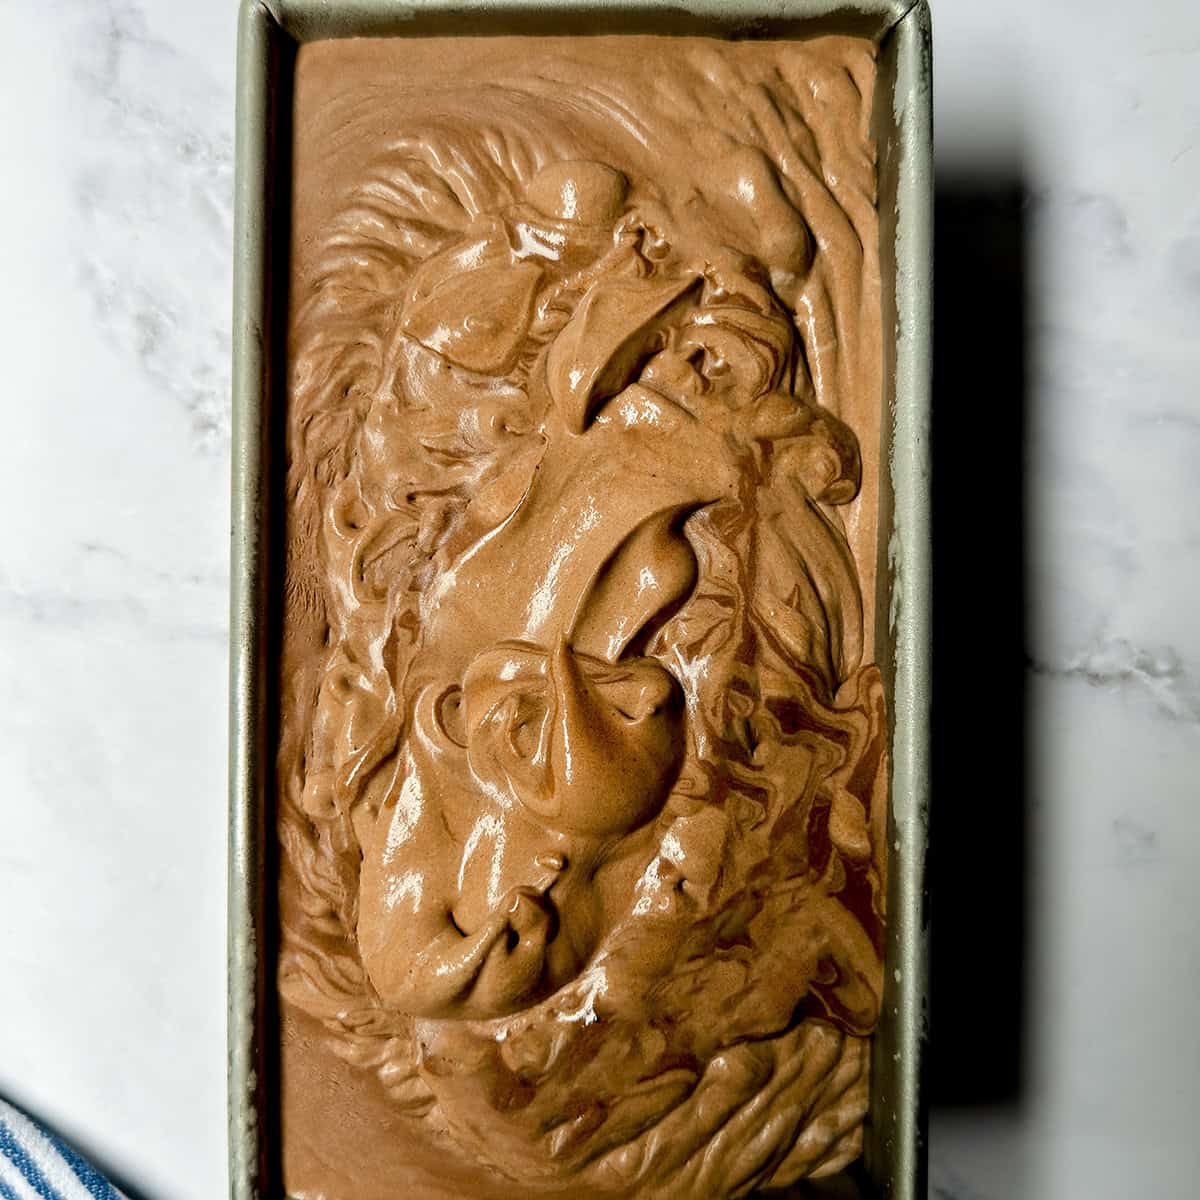
- Step 4: Freeze the Ice Cream.
Spoon the chocolate ice cream mixture into the chilled loaf pan and smooth or swirl the top. Cover and freeze until thick and creamy, with a soft-serve consistency, about 2 hours.
If you are adding brownies, cookies, nuts, or another addition, gently fold or swirl them into the partially frozen ice cream with a spoon.
Cover again and continue freezing until firm, about 3 hours more. For the firmest texture, freeze the ice cream overnight.
Tips for Creamy No-Churn Ice Cream
- Begin with cold ingredients. Very cold heavy cream whips more quickly and holds its shape better. Chilling the loaf pan also gives the ice cream a head start in the freezer.
- Whip the cream to firm peaks. The whipped cream provides the air that would ordinarily be incorporated by an ice cream maker. Stop mixing as soon as the cream holds firm peaks.
- Fold the mixtures gently. Stirring vigorously can deflate the whipped cream and create a denser finished ice cream.
- Keep mix-ins cold. Warm brownies or other additions can soften the whipped cream and affect the finished texture. Cool and preferably chill them before adding.
- Add mix-ins after the first freeze. Waiting until the ice cream reaches a soft-serve consistency helps suspend the pieces throughout the mixture rather than allowing them to settle.
- Protect the surface from air. Press a piece of plastic wrap or parchment directly against the surface before covering the pan to help prevent ice crystals from forming.
Keep add-ins chilled, cut them into small bite-size pieces, and limit the total to about 1 to 1½ cups so the finished ice cream remains creamy and easy to scoop.
Easy Chocolate Ice Cream Variations
This simple chocolate base can be adapted with different mix-ins.
- Rocky road: Add mini marshmallows, chopped toasted almonds, and small pieces of chocolate.
- Chocolate almond: Fold in chopped toasted almonds or chocolate-covered almonds.
- Cookies and cream: Fold in roughly crushed chocolate sandwich cookies.
- Chocolate praline: Add chopped pralines or toasted pecans and toffee pieces.
- Triple chocolate: Combine brownie pieces with mini chocolate chips or finely chopped dark chocolate.
Serving No-Churn Chocolate Ice Cream
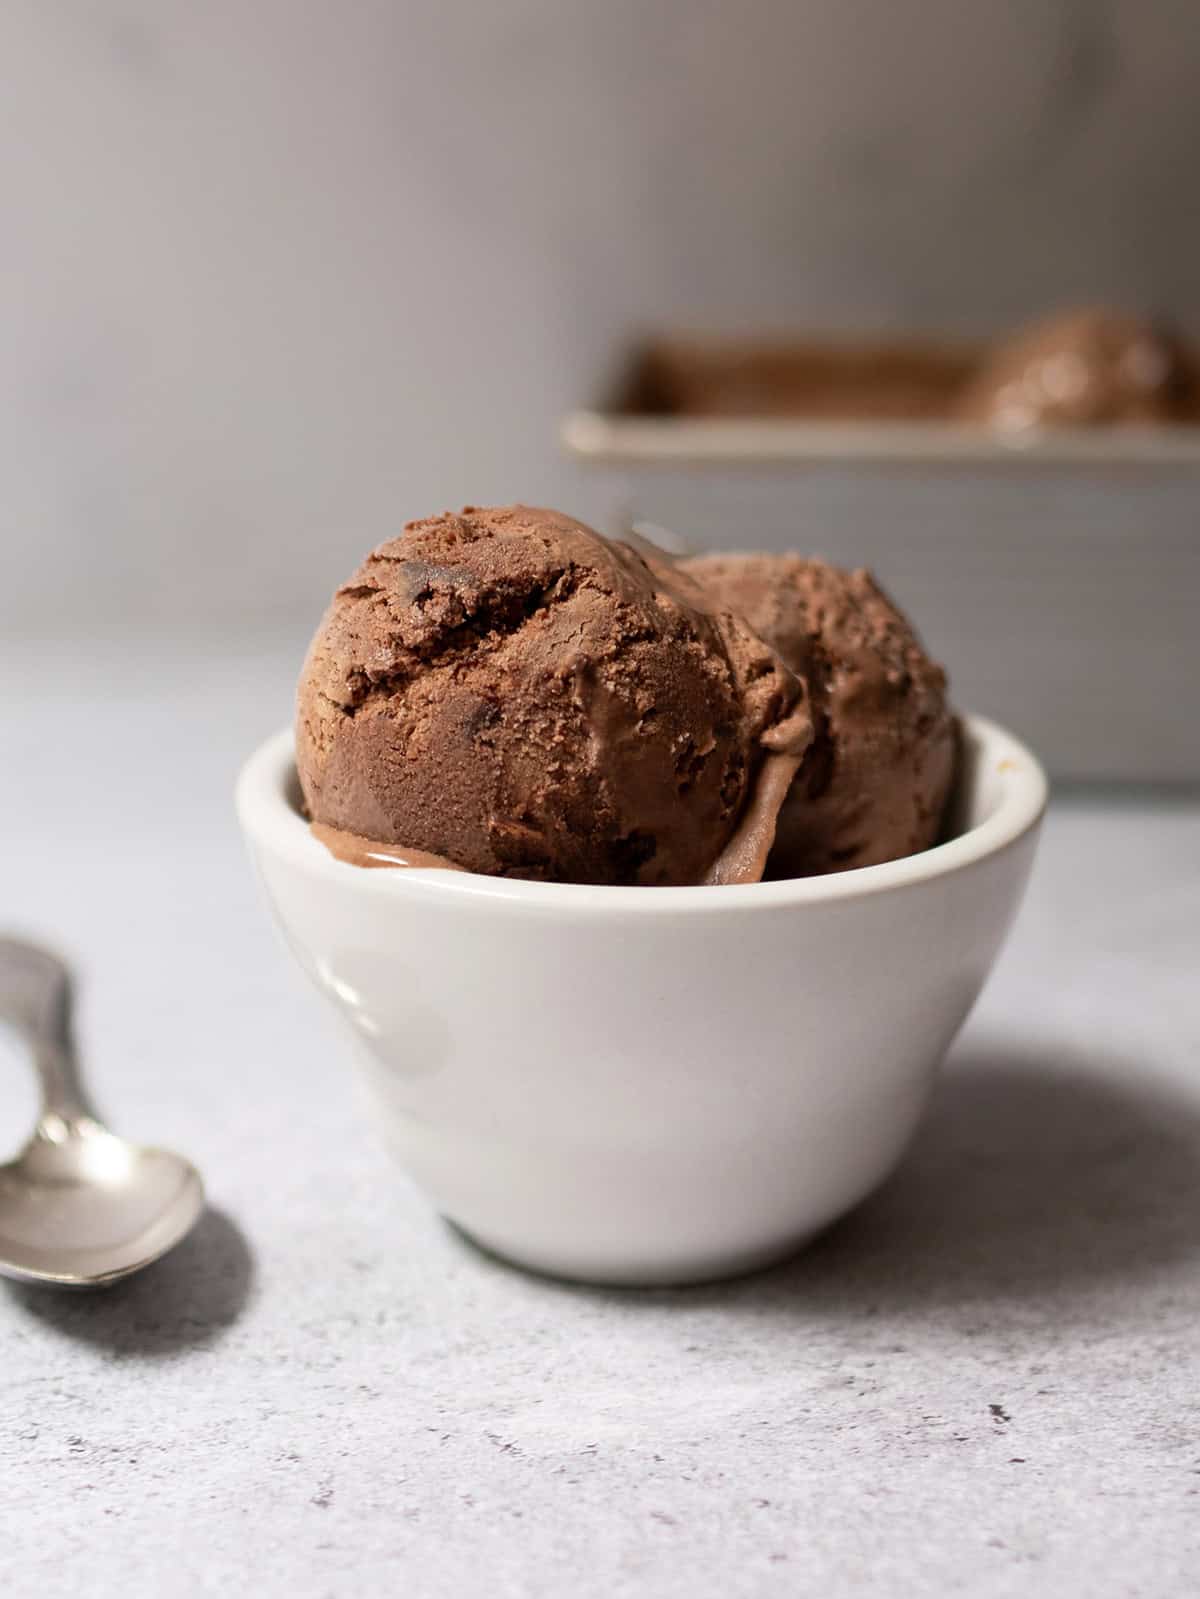
Because homemade ice cream freezes quite firmly, allow the pan to stand at room temperature for approximately 5 to 10 minutes before scooping.
Serve the ice cream in bowls or cones, or top each serving with additional brownie crumbs, chocolate shavings, toasted nuts, or a drizzle of chocolate sauce.
It is also delicious served alongside a warm brownie or sandwiched between two chocolate cookies.
How to Store Homemade Ice Cream
Cover the loaf pan tightly and store the ice cream in the coldest part of the freezer rather than in the freezer door.
For the creamiest texture and freshest flavor, enjoy it within about 2 weeks. Pressing plastic wrap or parchment directly against the surface will help protect it from freezer air and ice crystals.
No-Churn Chocolate Ice Cream FAQs
No. Whipped heavy cream incorporates air into the mixture, creating a creamy frozen dessert without churning or special equipment.
The ice cream needs approximately 5 hours of total freezing time. Freezing it overnight will give you the firmest texture.
Absolutely. Store-bought brownies make this recipe especially easy. Chill them before cutting or crumbling them so they remain intact when folded into the ice cream.
No-churn ice cream can become quite firm in a very cold freezer. Let it rest on the counter for 5 to 10 minutes before serving, and dip the ice cream scoop in warm water between scoops.
No Churn Chocolate Ice Cream
Equipment
- 9 x 5-inch metal loaf pan chilled, or other ice cream freezer container
Ingredients
- 1 (14-oz) sweetened condensed milk
- ¾ cup cocoa powder sifted
- 2 teaspoons pure vanilla extract
- ½ teaspoon optional: instant espresso powder
- ¼ teaspoon salt fine sea salt is delicious
- 2 cups heavy cream
- ¾ cup optional add-ins: chilled crumbled brownies (see notes for more ideas)
Instructions
- Place a 9-by-5-inch metal loaf pan in the freezer to chill.
- In a large bowl, whisk together the sweetened condensed milk, cocoa powder, vanilla extract, instant espresso powder, if using, and salt. The mixture will become very thick. Set aside.
- Using an electric mixer, beat the cold heavy cream on medium-high speed until firm peaks form, about 2 minutes.
- Gently fold approximately 1 cup of the whipped cream into the chocolate mixture until combined. Fold the lightened chocolate mixture into the remaining whipped cream until evenly blended, taking care not to deflate the cream.
- Pour the ice cream mixture into the chilled loaf pan and freeze, covered, until thickened to a soft-serve consistency, about 2 hours.
- If using brownies or another addition, gently fold or swirl them into the partially frozen ice cream. Cover and continue freezing until firm, about 3 hours more or overnight.
Notes
- Storing: Store the ice cream tightly covered in the freezer. For the best texture and flavor, enjoy it within 2 weeks.
- Optional Add-Ins: Add up to 1½ cups chilled crumbled brownies, crushed chocolate sandwich cookies, mini chocolate chips, chopped chocolate, chocolate-covered almonds, toasted nuts, praline pieces, or mini marshmallows. For the brownie variation pictured, I used crumbled Fudgy Cakey Family-Size Brownies.
Nutritional information is only an estimate. The accuracy of the nutritional information for any recipe on this site is not guaranteed.
More Homemade Ice Cream Recipes
Looking for another frozen treat to make this summer? Try one of these homemade ice cream recipes:
- Summer Berry No-Churn Ice Cream
- No-Churn Peanut Butter Chocolate Ice Cream
- Homemade Mint Chocolate Chip Ice Cream
- Easy Peach Ice Cream
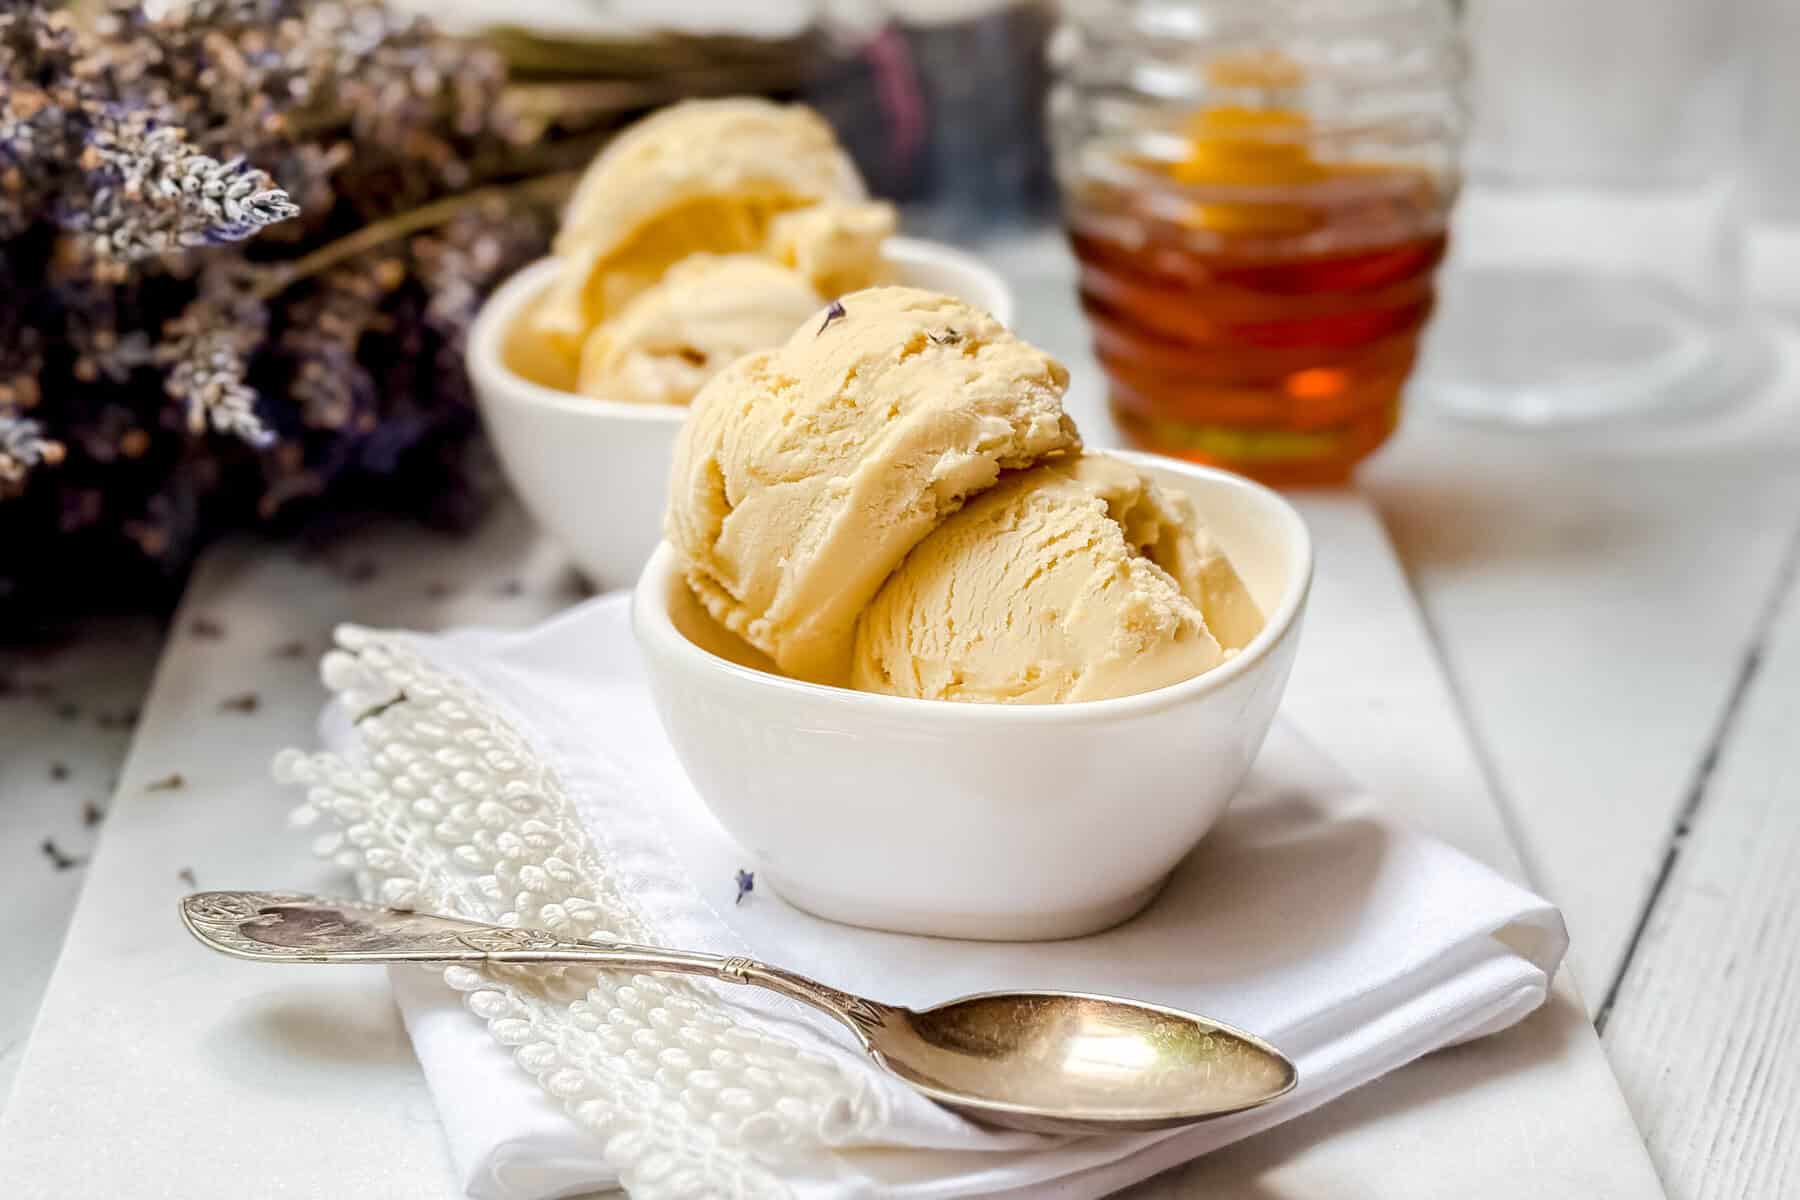
- Honey Lavender Ice Cream (Naturally Sweetened)
No Bake Desserts
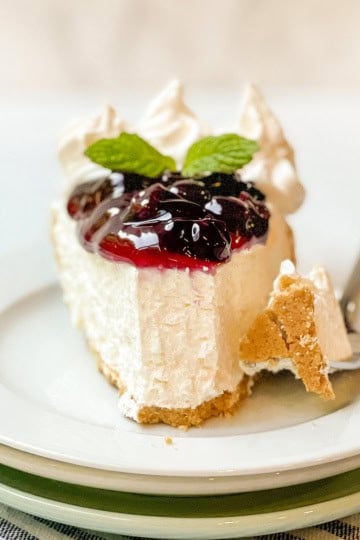
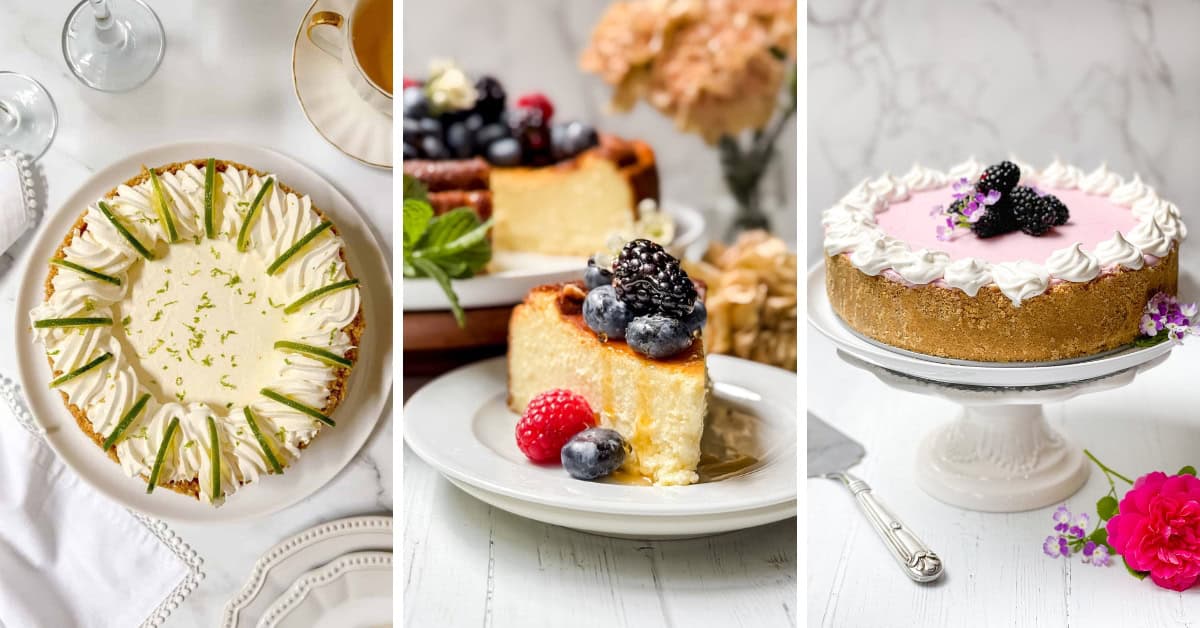
- Easy No Bake Cheesecake
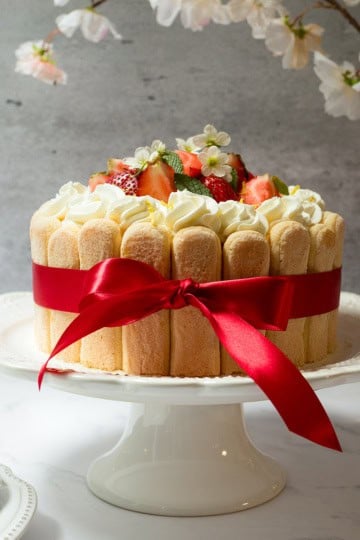
- Strawberry Lady Charlotte Cake
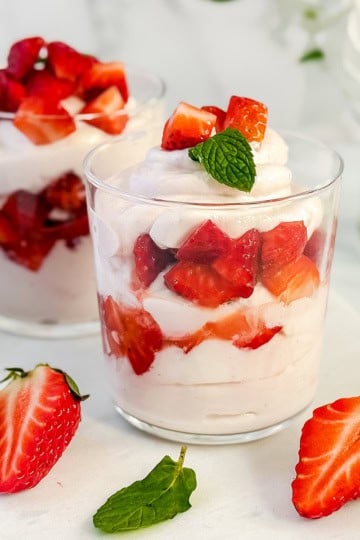
- Honey-Sweetened Strawberry Fool with Yogurt
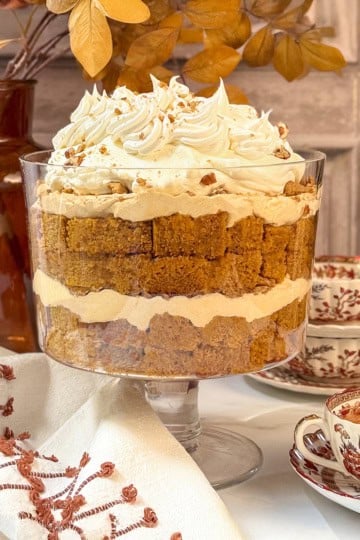
- Easy Pumpkin Trifle
If you try this recipe, I'd love to hear your comments and consider giving it a 5-star rating. Explore the recipe index for more easy, delicious ideas, and stay updated by subscribing to our newsletter and following us on Facebook, Pinterest, Instagram, and YouTube!
More No Bake Desserts
Popular Right Now

Love seasonal recipes and easy ideas for everyday cooking? Join 36,000+ readers and receive our newest recipes each week.
Subscribe to the Newsletter
I made this recipe for the second time over the weekend and LOVE IT...!! The first time I made it, I used dark chocolate, and it was amazing...Yesterday, I left the cocoa out and added a dash of cinnamon and some chocolate chips, and again, it is awesome...This is SO easy to make and SO TASTY...!!
Marshall, I love this! I had hoped this recipe would be an easy one to adapt, and your cinnamon and chocolate chip version sounds absolutely delicious. Thank you so much for coming back to share your second version of it!
I've had this recipe for over a month and finally got around to making it yesterday...YUM...!! I used dark cocoa powder, and it came out even richer...!!
I think I just found a new staple for in-between bread baking... LOL !!
Hmmm...Sourdough ice cream cones..?? 🤔
Marshall, this made me smile! I’m so glad you finally got around to making it—and dark cocoa sounds absolutely delicious here. I love that it may have earned a spot in the rotation between bread-baking days (I currently have a sourdough loaf in the oven too). And now you have me wondering about those sourdough ice cream cones…! 😊
This recipe is always a family favorite. It's so easy, and the tiny bit of espresso elevates the chocolate flavor and makes for a perfect summer dessert!
Do you have an equivalent recipe for Vanilla..??
Hi Marshall! I do have a vanilla no-churn ice cream recipe that I make often, but for some reason, I’ve never posted it! You can make a vanilla version using this exact recipe—simply leave out the cocoa powder and espresso powder. Everything else, including the method, stays the same. You can also fold in any extras you like, such as crumbled chocolate sandwich cookies, shortbread cookies, or chocolate chips. I may need to get that vanilla version posted soon!
Thank you so much for the info...I will be making both soon...😊