
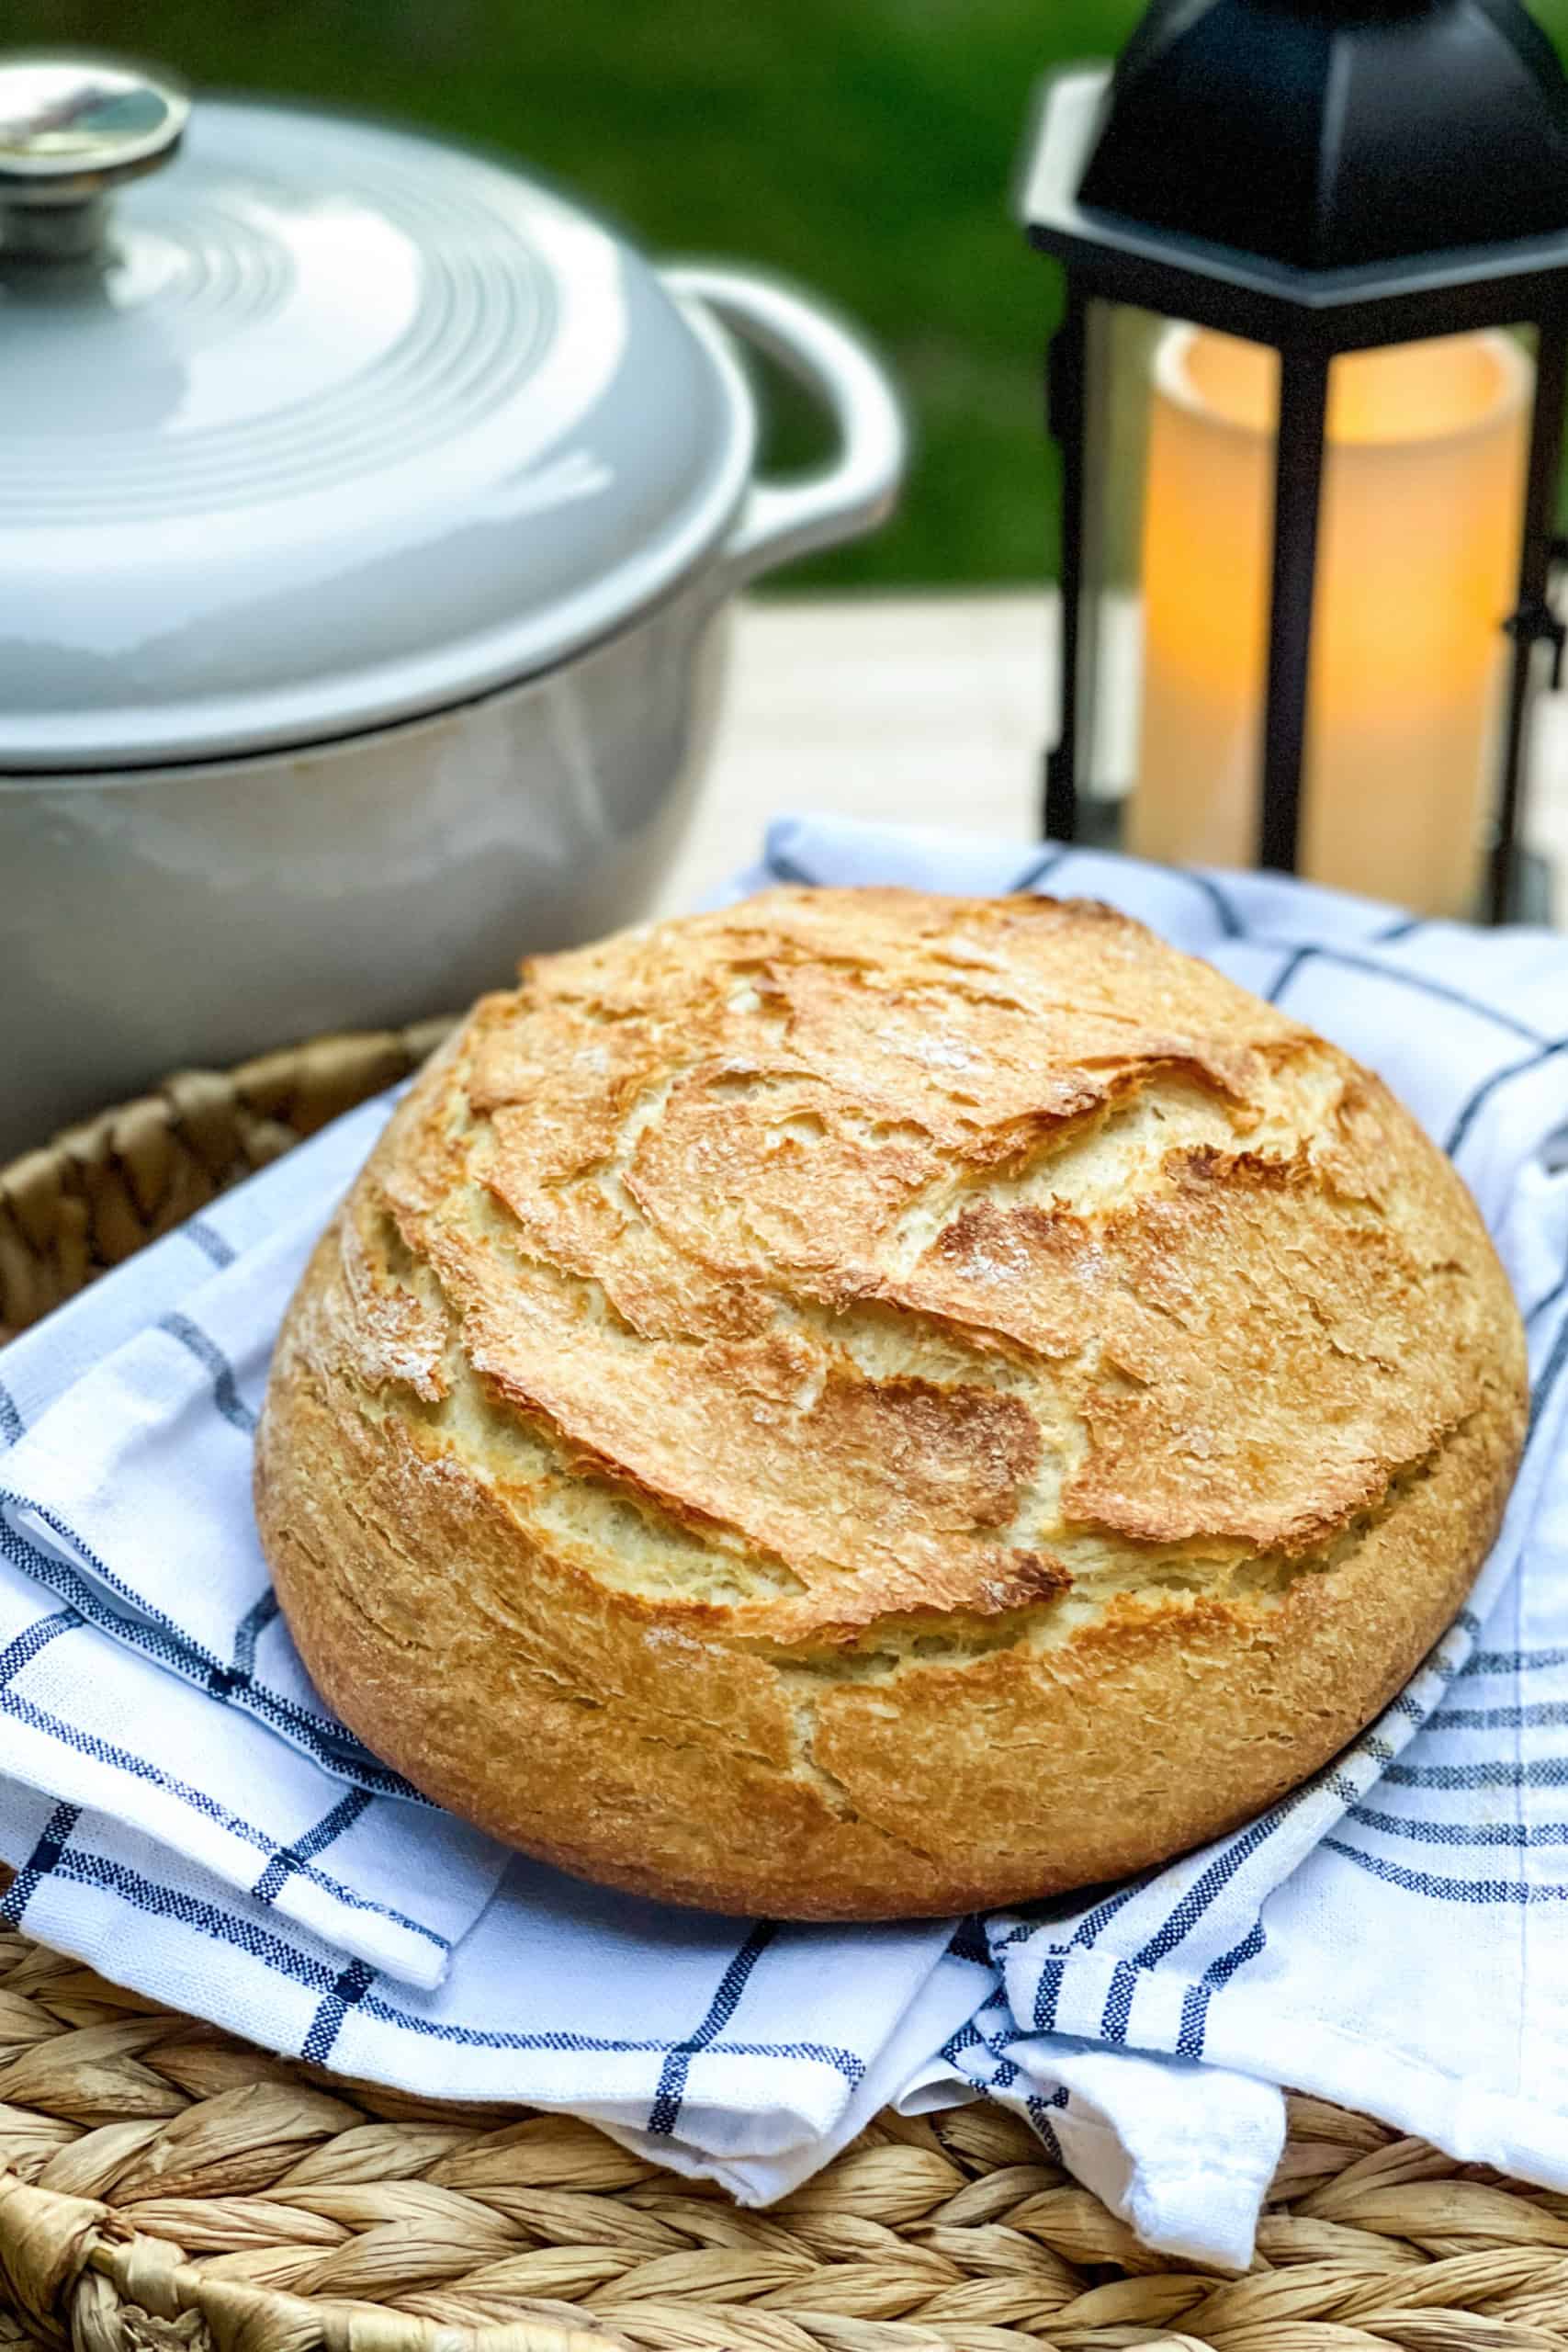
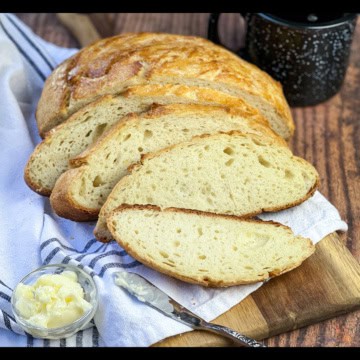
Campfire Dutch Oven Bread (Camp Oven Bread Recipe)


This classic Campfire Dutch Oven Bread recipe has long been a tradition. Made in a cast-iron Dutch oven over briquettes or baked at home, this sweet, delicious recipe for homemade bread, cooked outdoors, is one you won't soon forget.
This campfire Dutch oven bread-sometimes called camp oven bread-is a simple yeast bread baked outdoors over hot coals, a method used for generations of camp cooks.
This post may contain affiliate links. Please read our disclosure policy.
Want to save this recipe?
Enter your email, and we'll send it to your inbox. Plus, you'll get delicious new recipes from us every Friday!
Why I Love This Recipe
We are history lovers. And have taken plenty of opportunities to visit living history sites and museums. Such an incredible experience to learn about the past and teach the children, in living color, what life was like back then.
One of my favorite exhibits, always, is wherever food and its preparation are. I am never disappointed!
Jump to:
Living History Camp Bread

Meandering through rows of canvas tents, I became fascinated by a woman kneading and baking bread in a Dutch oven. A large, 12-quart oven was producing an equally large loaf of bread.
The aroma was indescribable. People were drawn from every corner of the site, including the large crowd the bread was intended for. Lucky people!
But she was sweet to give me a bit of her time. When I questioned her about the bread recipe, she let me take a photo of the handwritten recipe she'd used for years.
And now I'm passing it along to you.
I can promise, it's utterly delicious, fool-proof, and truly, serves many people.
To make it more useful for our smaller gatherings, however, I've tweaked the recipe a bit. That one can be found in the recipe card below.
But first, let's take a look at her vintage recipe.

You have to love handwritten recipes. And this one, I can promise, was well used. It will make 20 to 30 servings.
My dad and I make it for backyard parties of 30 to 40 people; it's the perfect size, and I just had to include it.
In case the photo is difficult to read, I've transcribed the original recipe, written in her own hand, for this Camp Bread.
Dutch Oven Camp Bread Ingredients
Transcribed from the recipe card photo above:
- 3 cups warm water
- ½ cup butter
- ½ cup granulated sugar
- 2 ½ teaspoons salt
- 4 ½ teaspoons active dry yeast (2 packets)
- 9 ½ cups all-purpose flour
How to Make Camp Bread
Transcribed from the recipe card photo above.
- Combine water, butter, sugar, salt, and yeast. Let proof for 15 minutes. Stir in 5 cups of flour and beat until smooth before stirring in the remaining flour.
- Turn dough onto a floured surface and knead for 8 to 10 minutes, or until elastic and smooth. Add additional flour if necessary.
- Form dough into a ball and place into an oiled bowl, cover and let rise until double.
- After the dough has risen, deflate, shape into a ball and place into a parchment paper lined 12-inch, 8-quart cast iron Dutch oven. Let rise until double, about an hour.
- Bake in the oven at 375 degrees for 45 minutes or bake outside over coals. Keep reading on how to bake the bread outside.
If you're new to making bread, see my Bread Making Troubleshooting Guide for answers to common questions.

Baking Bread in a Camp Oven (Dutch Oven Campfire Method)
Place the Dutch oven over hot briquettes: 10 under the oven and 16 on top. Bake for about 30 minutes. Remove from the fire and let cool in the pan.

Family Size Campfire Dutch Oven Bread
When you don't need to feed a hungry army and are looking for the recipe for a standard loaf of Campfire Dutch Oven Bread, scroll down to the recipe card at the bottom of this post for my version, adapted from the original.
The recipe is almost the same, and much like making no-knead bread. Except for this recipe, I do knead it for a couple of minutes. I believe it gives the bread a bit more loft. But not strictly necessary.
Campfire Dutch Oven Bread FAQs
Yes. While this recipe was designed for a campfire or camp oven, it can also be baked in a Dutch oven in a conventional oven at home. The texture and flavor will be slightly different, but still excellent.
A camp oven is typically a cast iron Dutch oven designed for outdoor cooking, often with legs and a flanged lid for holding coals. Camp oven bread refers to bread baked outdoors using this method.
Yes. Instant yeast works well and can be mixed directly into the dry ingredients, making it especially convenient for camping.
More Easy Bread Recipes
- Best 1 Hour French Bread Recipe
- Easy No Knead Whole Wheat Bread
- Basic 100% Whole Wheat Bread Recipe
- Easy Healthy Honey Whole Wheat Bread Recipe
- No Sugar Oatmeal Sandwich Bread Recipe
SAVE THIS AND PIN IT FOR LATER!
Make sure you don't lose track of this recipe by pinning it for later! If you are not already you can follow me on Pinterest, as well as keep up with me on Facebook, Instagram and YouTube. If you make this recipe I would also love it if you'd tag me in your photos and leave a star rating below!
Dutch Oven Camp Bread Recipe
Equipment
Ingredients
- 1 ½ cups lukewarm water
- 4 tablespoons butter diced
- 2 ¼ teaspoon active dry yeast or 1 packet
- 4 cups all-purpose flour or bread flour
- ¼ cup granulated sugar
- 1 teaspoon salt
Instructions
- In a bowl combine warm water, 1 teaspoon of the sugar, butter, and yeast; let sit until it becomes foamy; 2 to 3 minutes.
- Combine 3½ cups (430g) of the flour, remaining sugar, and salt in a large bowl or the bowl of a stand mixer. Make a well in the center of the flour and stir in the yeast mixture. The dough will be rough, but it will pull away slightly from the bowl. Knead by hand or with the mixer for 3 to 4 minutes until it comes together. Add additional flour in 1 tablespoon increments if the dough is too sticky. I usually use just under 4 cups total. The dough will pull away from the bowl during the kneading process.
- Once the dough comes together, cover and let rise about 1 hour or until doubled in size.
- Uncover the dough and using a fork or spatula, start from the rim of the bowl to pull the dough loose from the sides and fold it up toward the center of the bowl. Repeat until finished. Turn the dough out onto a floured surface and shape into a ball. Place the dough into a clean bowl, lightly oiled. Cover the let rise until doubled; about 1 hour.
- Meanwhile, place a 6 quart Dutch Oven inside the oven and preheat to 450 degrees F. Carefully remove the pot from the oven and place on a heat-safe surface.
- Turn the risen dough out of the bowl and carefully transfer the dough inside the pot. Replace the lid and bake for 40 to 45 minutes, removing the lid during the last 15 minutes of baking.
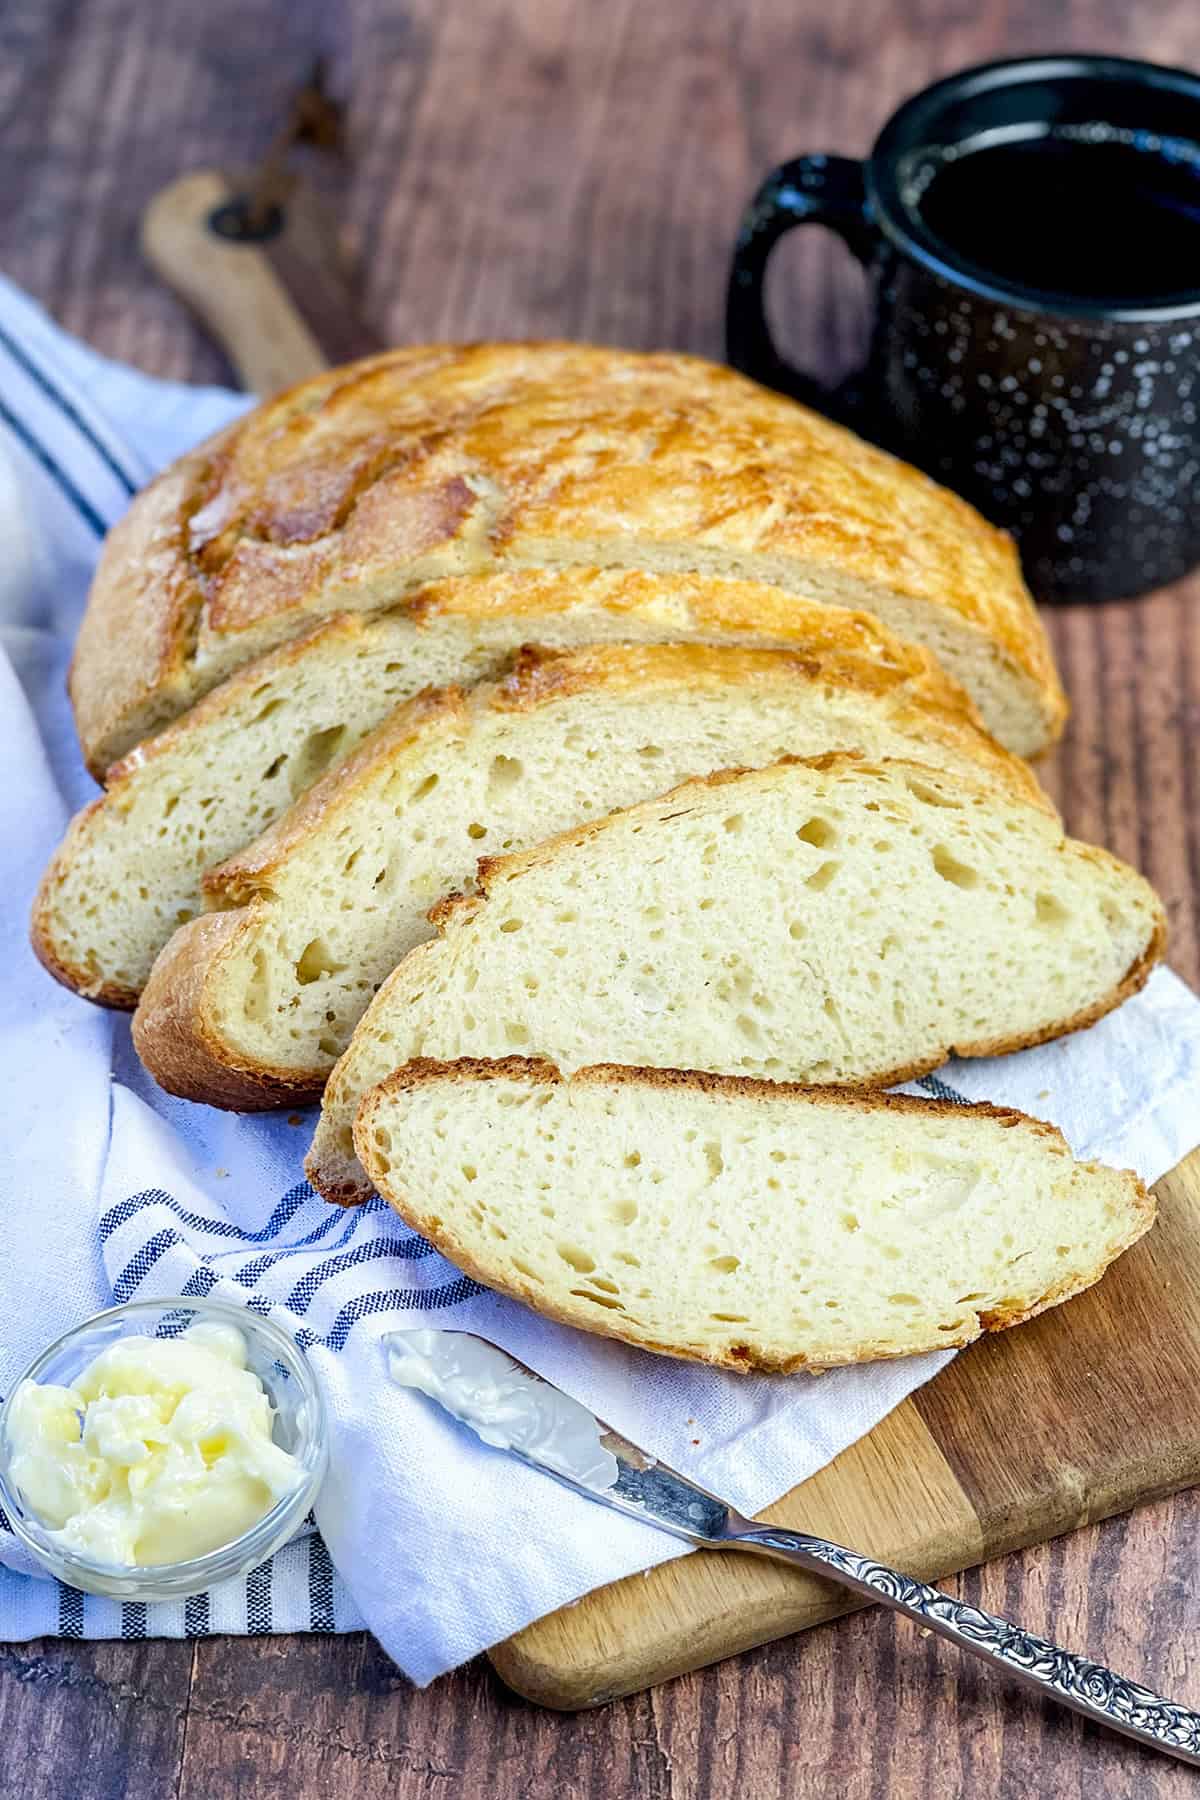
- Let cool for 10 minutes before slicing.
Notes
Nutritional information is only an estimate. The accuracy of the nutritional information for any recipe on this site is not guaranteed.
Can I do this on the stove top? Thanks.
Hi Joe, thank you for your patience. Technically, I knew you could "bake" this bread on the stovetop, but I had never tested it using that method. I've now tested it twice, and you can definitely use the stovetop. I used the same Dutch oven I use when baking the bread in the oven. However, you can also use a heavy skillet with a lid. The bread will then be wider rather than taller, but it works well.
The difference in cooking this bread on the stovetop is the heat is more concentrated on the bottom of the bread. Because of this, you want to cook it on medium low to low, depending on your stove. I used natural parchment paper (as I do in the oven). If you happen to have a heat-proof, wide trivet or rack the same width as the base of your pot, it helps lift the bread from the bottom of the pan.
The bread itself was beautiful, light and fluffy. Thank you for your question and I hope you enjoying making it!
Can this be made without any sugar?
Hi Sandy, the yeast does need sugar to ferment and rise. It's also hygroscopic, which means it attracts and holds moisture. When removing it, moisture can evaporate from the loaf during baking, making the bread drier. While I've not tested this, I would recommend substituting honey for the sugar, perhaps 2 tablespoons to the full amount. If you try it, I'd love to hear how it turns out!
How many coals do you use for the 6 or 8 dutch oven?
Hi Nicole, we use a 12 Dutch oven and will use anywhere from 15 to 18 on top and 6-8 underneath. I don’t have a 6, but would start with half that amount, or as many as fit in the lid.
Thank you. I believe purs is 8
Definitely going to try this recipe
Do you need to grease the dutch oven before placing the dough in it?
Hi Stephen -- I spray the Dutch Oven with cooking spray just before putting the dough into it. But be careful as the pot will be very hot!
We made this over Father’s Day weekend and loved it! Thanks!